
Nobel Muscadine Wine Recipe
Making wine is really easy. Fruit juice, sugar, yeast and time will turn into wine. When I first started out I tried to find some high-end recipes similar to what the commercial wineries might use, but never really found what I was looking for. I’ve been making wine for a few years now and getting better. I still don’t see a lot of detailed “how to make muscadine wine” out there. My goal is to make a great muscadine wine and will use this post to document this years wine making effort.
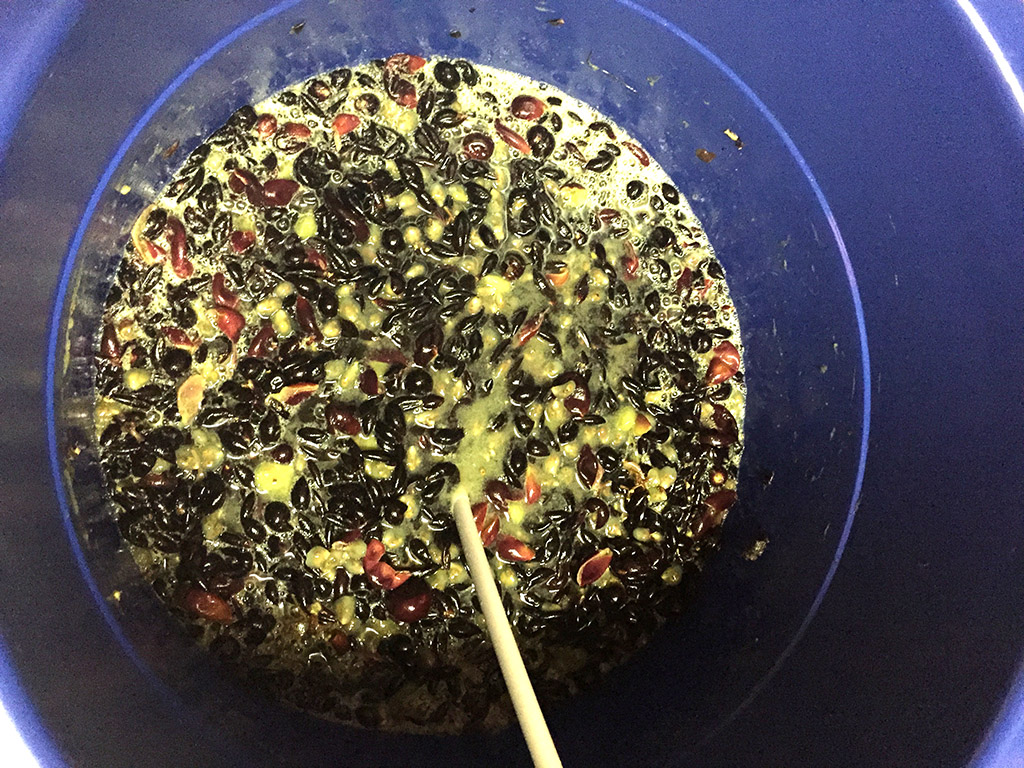
1. After crushing the muscadine you need to put get some potassium metabisulphite in your crush to protect it and kill off the wild yeast. If less than 50lbs of fruit I use a 1/8 tsp mixed with 1/4 cup of water, if 50-100lbs I use 1/4tsp with 1/2 cup of water. Mix in very well to the must.
2. Get your measurements: PH, TA, SG/Brix and you need to know your must volume. My measurements are: PH = 3.32, TA = 4.0 g/l or .40% (which is pretty low), brix = 15, S.G. is 1.058, and the must volume is 6 gallons.
3. Making adjustments: you can’t use the full volume of the must for sugar and TA adjustments. I use 6gal x .667 = 4gal to make these adjustments. The TA needs to be .60 – .70% for Dry Red or .65% – .80% for Sweet Red wine. I’m planning to make this batch dry, so I’ve decided to shoot for .65%. I use the Math Winery app on my iphone to help me with the adjustments, but there are many tools and adjustments calculators on the web. To get .40% to .65% TA on 4gal of must, I need to add 40 grams of Acid Blend. I mix this with 1/2 cup of distilled water and then mix in well to the must. I’m shooting for 12% ABV. I’m sure this will end up dry with a SG of .990 – .992. I’m starting with 1.058 and to get to 12% I need to get to S.G. 1.090. Start S.G = 1.090 and assuming I’ll end with .990, should get me to 12%. Using these numbers and the Math Winery app, I need to convert S.G to Brix. Starting Brix is 15 and goal is 23 (S.G. 1.090). I need to add 1.669kg or 3.65 lbs of sugar. To do this, I removed about two cups of must juice and heated to just before boiling in the microwave and then added the sugar and mixed well. I let cool a little until just warm and then mixed well into the must. I like adding some french oak beans at this time. Take 1-2oz of beans and add to 1/2 gal of water that has 1 campden tablet crushed and mixed well. Let the beans soak for 20min. Remove beans from water and add to must and mix well.
4. Wait 12-24 hrs and test again: after about 12hrs. I tested the PH, TA, and S.G levels again. PH=3.11, TA=.80%, and S.G 1.095. PH dropped a bit, TA and S.G overshot more than I had planned but no worries now. As the must ferments, the grapes will break down and create more juice, plus the press will gain more juice. We will check this all again later. Checked the temp of the must and it was 70deg. I put a heating belt on the fermenter as I want to get the temp up to 80-85% F for the fermentation.
5. Pitching the yeast: I used Lavin EC-1118 for this batch. 71B was my second choice. After waiting 12-24hrs and ensuring the must temp is 70-75deg I add 4-5g of Fermaid K yeast nutrients to the must and mix well. Now rehydrate 5g of yeast as instructed on yeast package. After 15min of hydrating yeast, check temp of yeast/water. If yeast/water temp is greater than 15deg higher than must temp, add 10ml of must juice to yeast/water stir well and wait 15min. Check temp again and if still 15deg above must temp, add another 10ml of must and wait another 15min. When yeast/water is within 15deg of must temp, add to must and gently stir to mix into the top of the must only. Don’t over stir or mix as it needs to stay on top to get more oxygen. Put cheese cloth over the primary fermenter to protect from flies and dust. Put the lid on loosely so air can still get in and out. I adjust how much the lid covers to help bring up and keep the temp within 80-85%. Once the fermentation process starts, it generates heat and the temp will raise. Between the heat belt, the fermentation generating heat and the lid being adjusted, you should be able to get to and maintain the temp 0f 80-85%.
6. Punch down: In 12-24hrs and sometimes as long as 48hrs you should see bubbles to let you know the fermentation process has started. I typically punch down the skins 3 times a day. In the morning before work, late afternoon after work, and then before I go to bed. You must push down the skins (cap) at least twice a day. This helps protect the must/wine from bacteria and also aids in extraction of color from the skins.
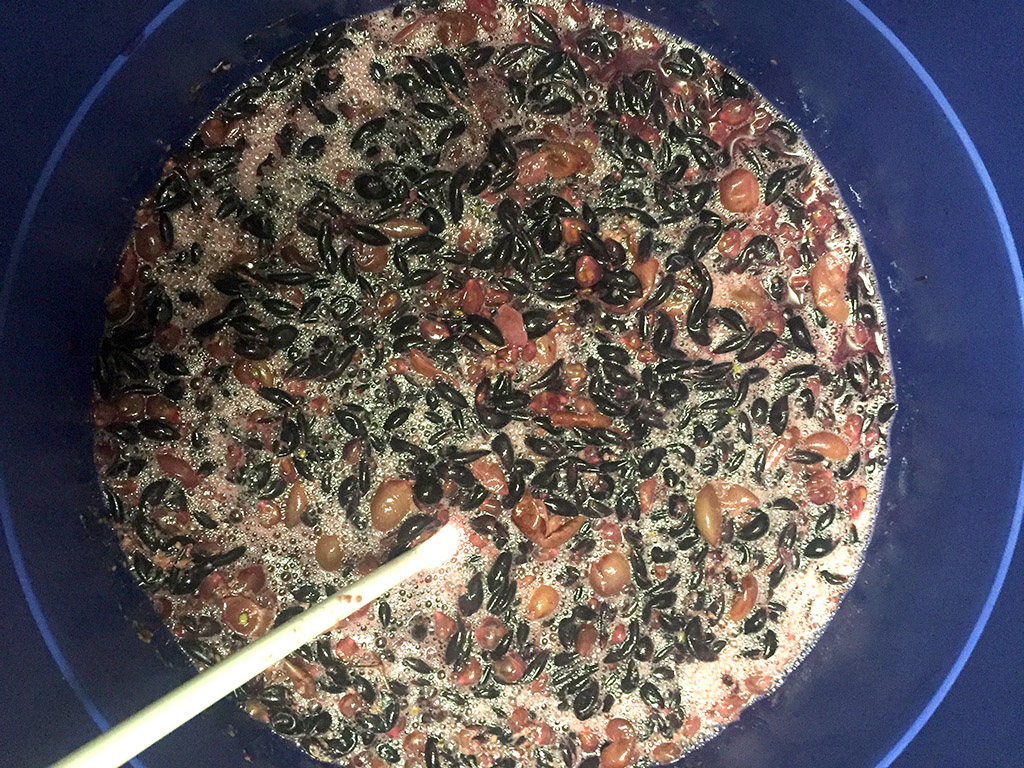
7. Testing: You should test your must for tastes many times though out the wine making process. Before you make any adjustments step 1&2 above. Then test after making the TA and S.G. adjustments step 3 above. After fermentation starts you need to check each day morning and night. Check temp to make sure you are within range, if you are not in range, it wont destroy the wine, just changes how long the fermentation takes, the color and possibly the tastes. You are tasting each day because the skins, seeds and stems will start adding tannins over time. You don’t want too astringent tasting from the tannins, but you do wont some for mouth feel. The primary fermentation can take 3-7 days depending on all the variables. Once the astringency gets too much for you, time to rack and press the grapes.

8. Adding more yeast nutrients after 1/3 depletion of brix: Yeast needs nutrients so they eat through the sugars at the right pace and don’t leave off odors. We started with a brix of 23 so when it gets down to 15 or S.G. of 1.065 we need to add more nutrients. This is usually within 48hrs after you started seeing bubbles from start of fermentation. This time we will add 4 grams of diammonium phosphate (DAP) yeast nutrient. Do this by adding 4g to 1/4 cup of water. Mix well until dissolved then mix well into must. By now the fermentation should be going very well and with each punchdown you should see lots of bubbles.
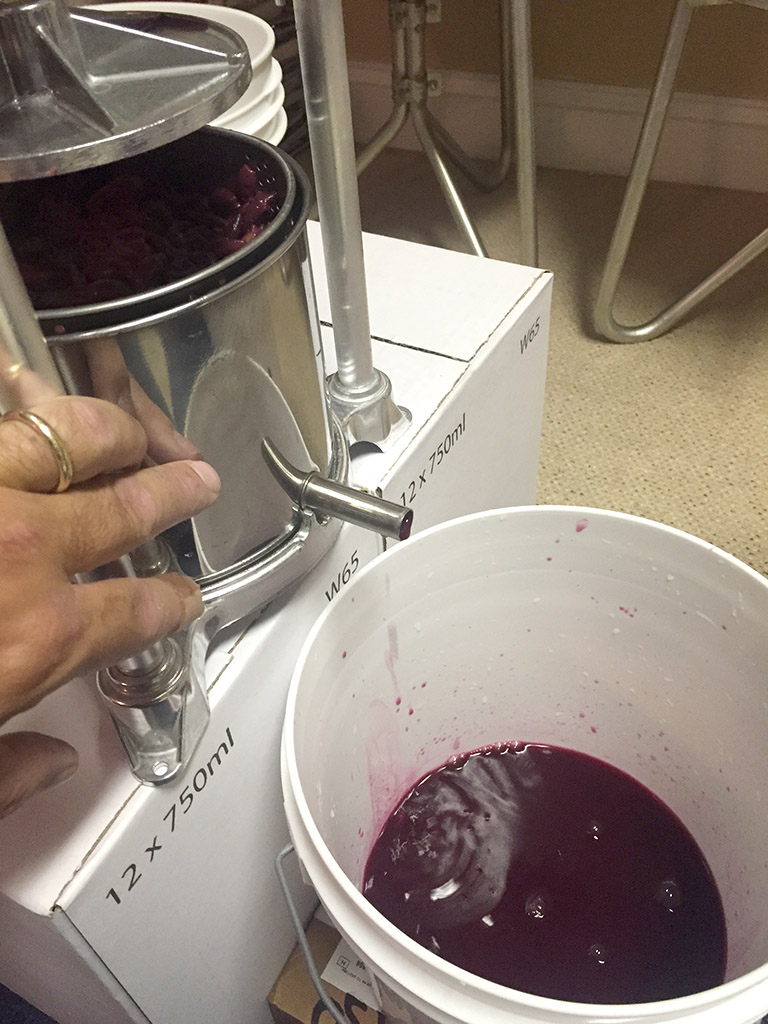
9. Racking and pressing skins: After 3days from start of fermentation, bubbles had slowed down and taste test shows the tannins (stringency) was about where I wanted. The temp of the must stayed around 82deg for these 3 days and why it went a little fast but all went as planned. S.G. is 1.010 and time to rack. Don’t punch down the skins before racking and pressing. Makes it easier to pull them out of the must. I have a very large press, but for this small batch I used my little 3liter stainless press. First thing to do is use a cup to scoop the skins out of the must and put in the press. The free run juice will flow out as seen below.
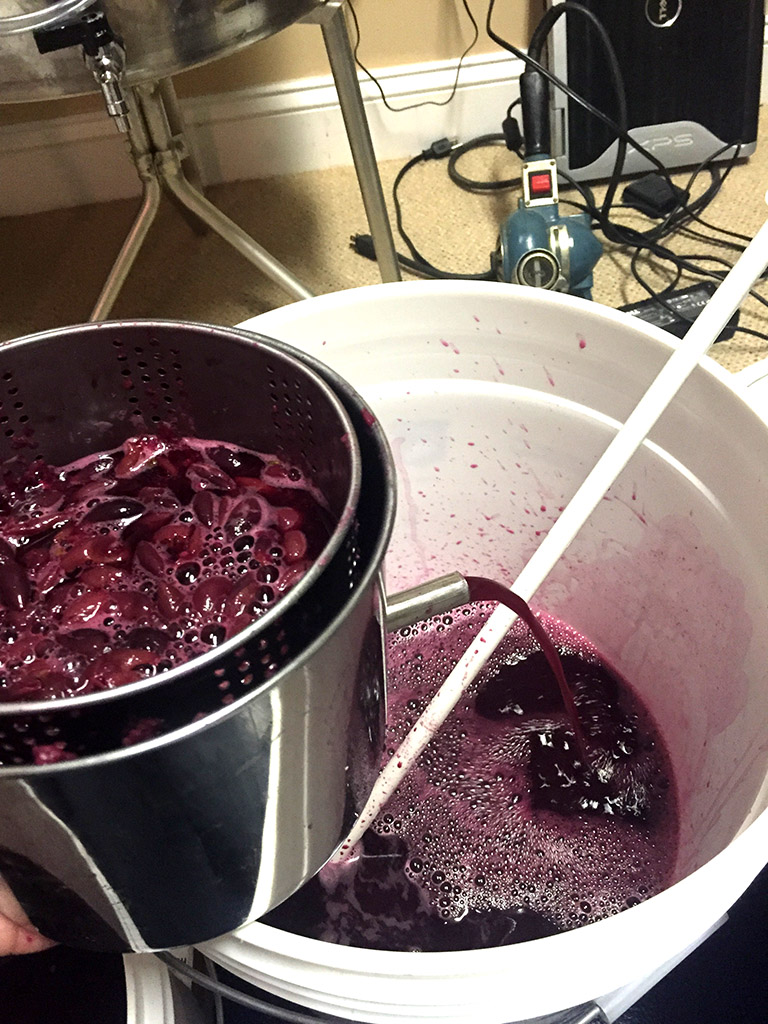
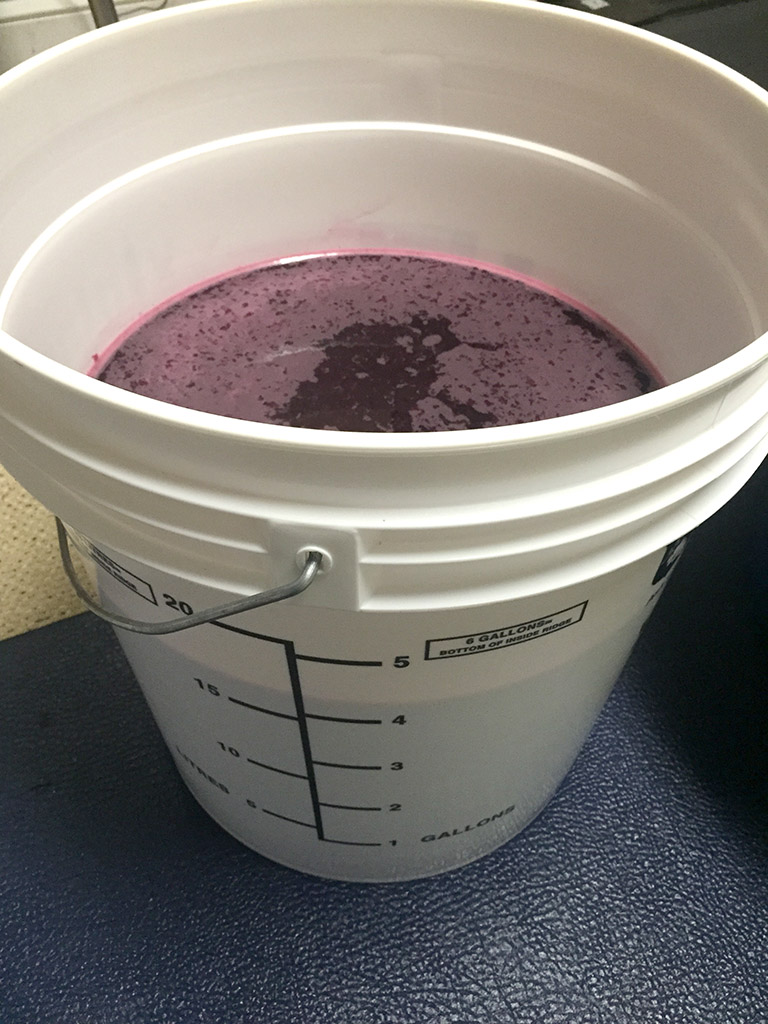
Once the press is full of skins, press off into another bucket as seen below.
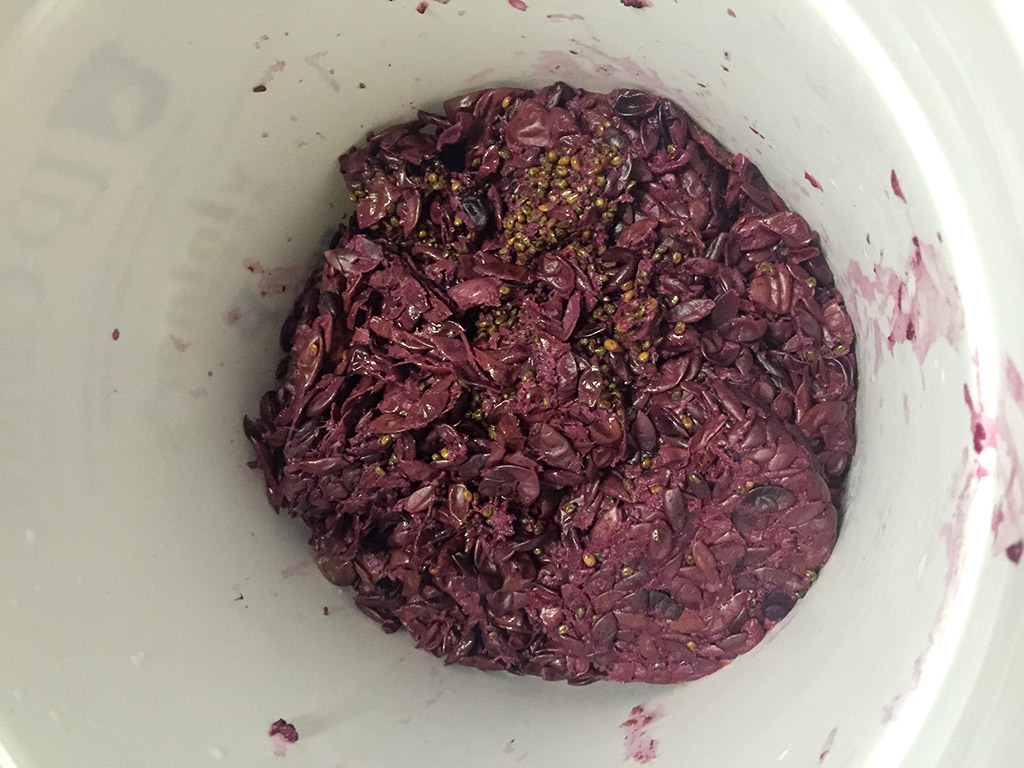
Press to get the juice out, but you don’t have to over press. Empty the skins and seeds into yet another bucket. They should be dry if pressed well.
I kept the free run juice and the pressed juice separate as usually you ferment them separately and mix back under controlled conditions to get the best taste. However, today I decided to mix as I didn’t ferment that long and the stringency difference is minimal between the two is minimal. I got 3.5gal of free run and .75gal of press. After combining I have 4.3gal of juice. We calculated above we would get 4gal. In the future I have the option to change the scale factor from .667 to a lower number for this noble grape, but we can make that decision later. The scale factor is different for each grape type due to size, and skins to juice ratio. I only put the wine into the primary bucket so I could measure how much must/wine after pressing.
10. Secondary fermentation: Its best to rack to secondary (glass carboy) when between 1.010 and 1.030. If you rack below, 1.010 you have a good chance of stalling the fermentation. The must was at 1.010 above when we pressed. Before you rack to the carboy, let the wine/must rest for an hour with the lid on. This will allow some of lees to drop out the suspension and they will fall to the bottom. When you rack, be sure to leave these lees, (dead yeast and broken down fruit fragments) behind. Be sure to fill your airlock and insert into the carboy. In this batch I had enough to fill a 3gal glass carboy and 3/4 of a gal carboy. I’ll use the 1 gal for toping off after the next racking.
11. Next Racking: After about 3-4 weeks the secondary should be done, depending on temperature and many other variables. Using a wine thief you can get a sample and test to see your S.G. It should be dry .990 – .998. If it’s not between these, put the airlock back on and try again in a week or two. If you see no change from last reading, the fermentation may be stuck or your starting gravity was too high (too much sugar) and you have residual sugar. For this batch the S.G. was .990 (dry). I tested the wine again: PH=3.10, TA=.75, SO2=20ppm. I added 1 oz of French oak beans. If the TA doesn’t drop some over time, I will most likely back-sweeten it to knock down some of the acid (tartness).
More to come. will add to and update as we progress.
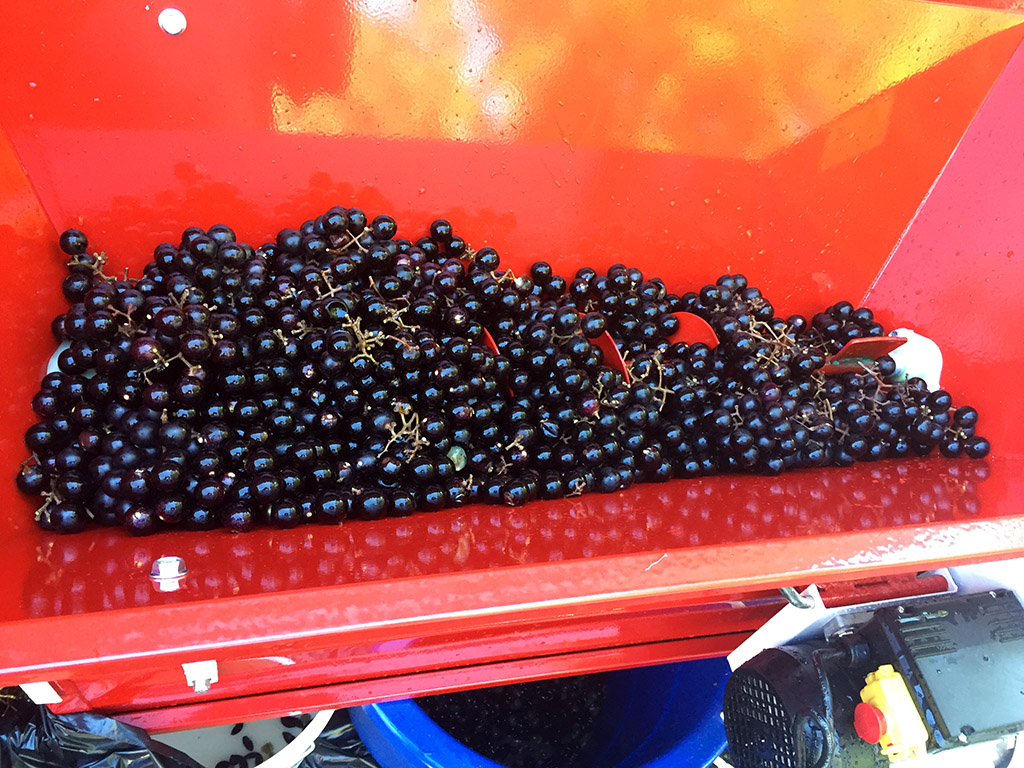
Noble Muscadine crush
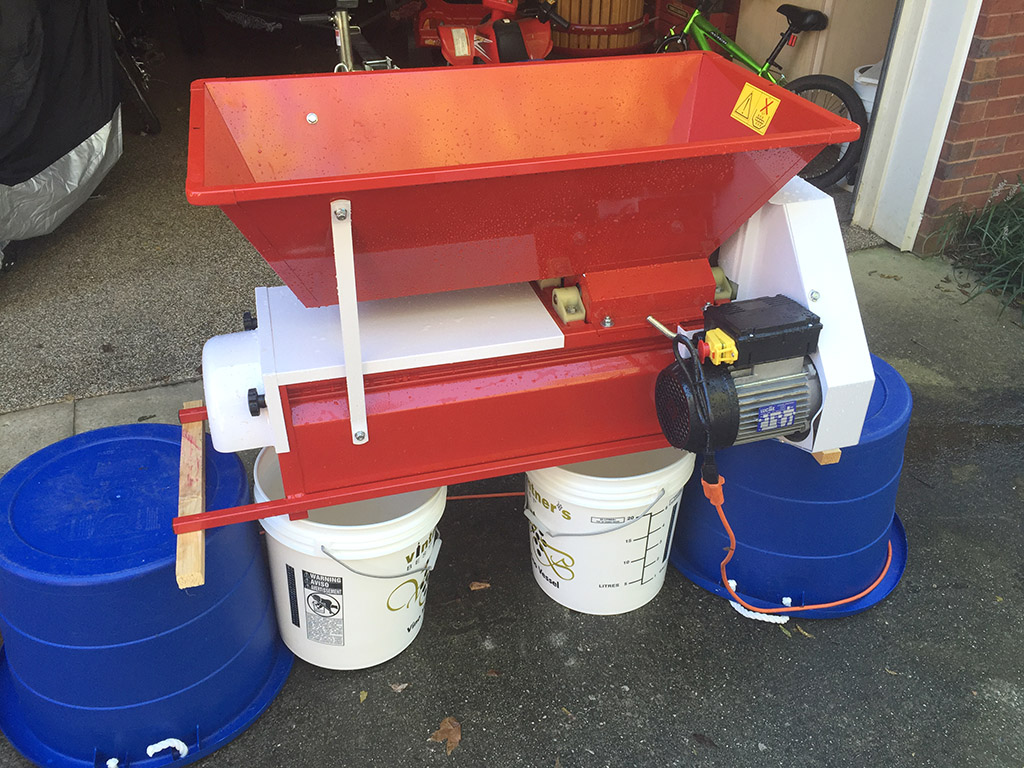
Picked the muscadine late yesterday and by the time we got home it was just too late to crush. I had about 6 lbs of black beauty in the freezer. I pulled them out and put on top of the buckets to keep them cool over the night. By morning the frozen were defrosted and the noble was cool. I got this crusher last year on a great deal. Only have 65lbs to crush, but it would take a couple of hours to pull the grapes from the stems and crush, or 5-7min of work in the crusher and destemmer.
Ended up with 6 gallons of must after the crush. The acid is much lower than expected.
PH = 3.32, TA = 40 (low), brix = 15, S.G. = 1.058
Nobel muscadine picking day has arrived!
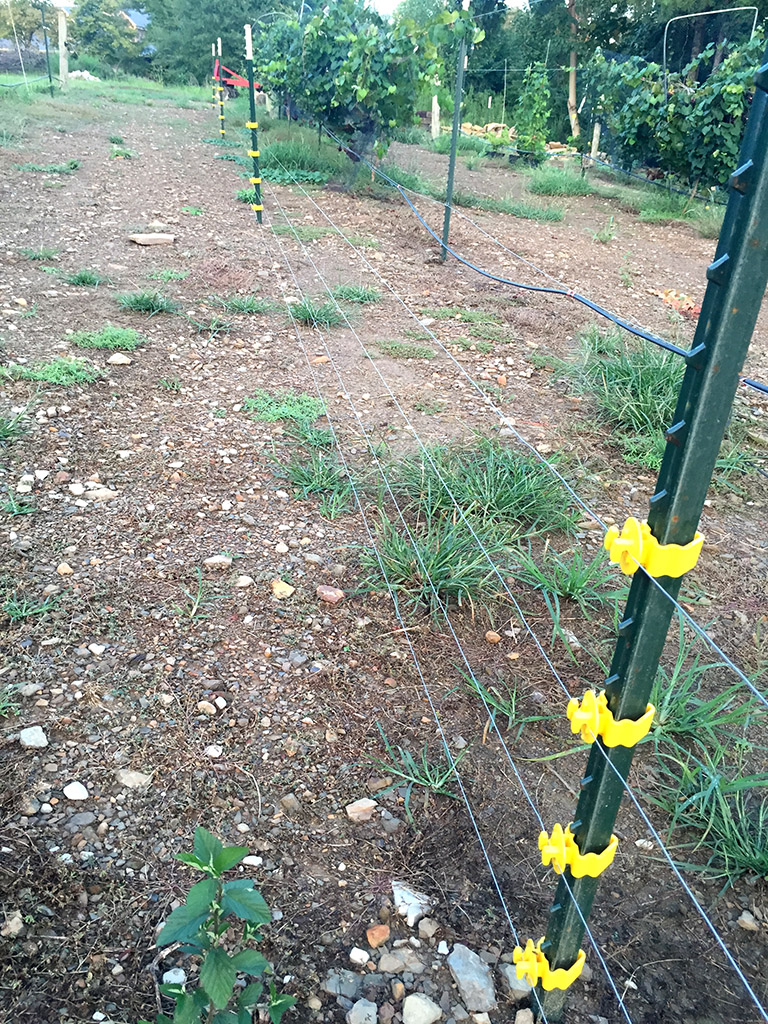
We’ve made it to picking day! The electric fence modifications worked and kept the raccoons out.
Wild muscadines have high acid. The Nobel is a domesticated variant with less acid, but really depends on soil conditions, and when you pick. I held off picking until conditions were right. 1) some of the grapes started looking like raisins and the berries skin starting to look dull and soft. 2) the seeds have darkened. 3) taste is very sweet. 4) sugar level is 15 or greater brix. I brought my two grape testers with me. #1Dakota my 8yr old son and #2 refractometer. Here’s Koda doing his taste test.

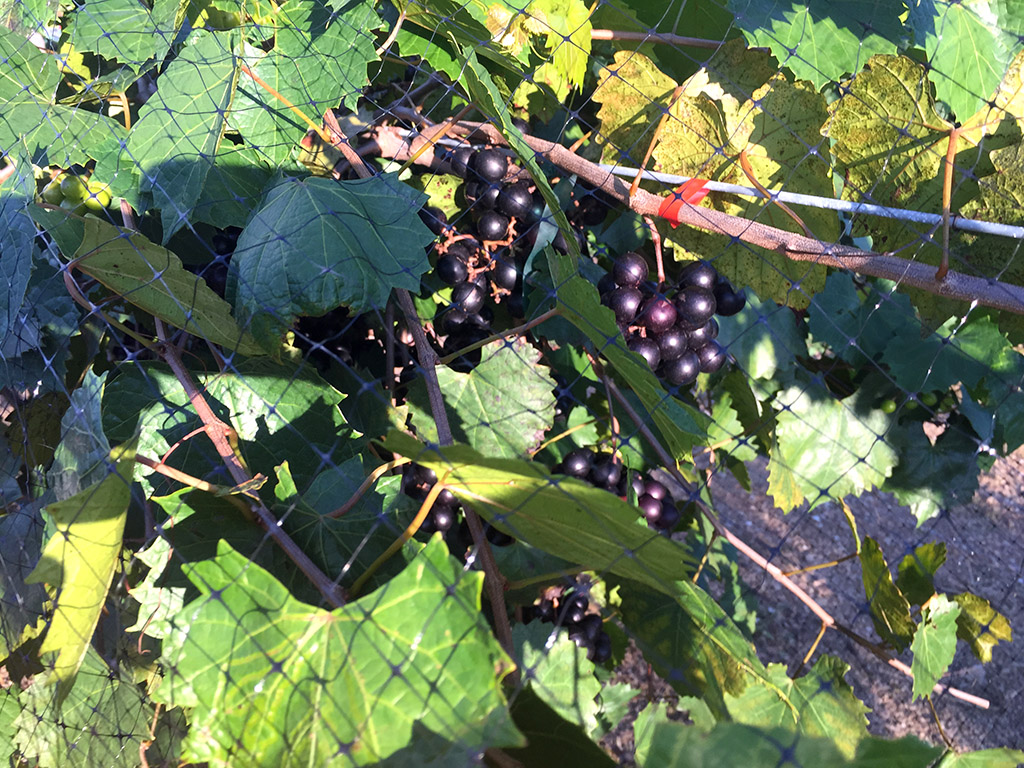
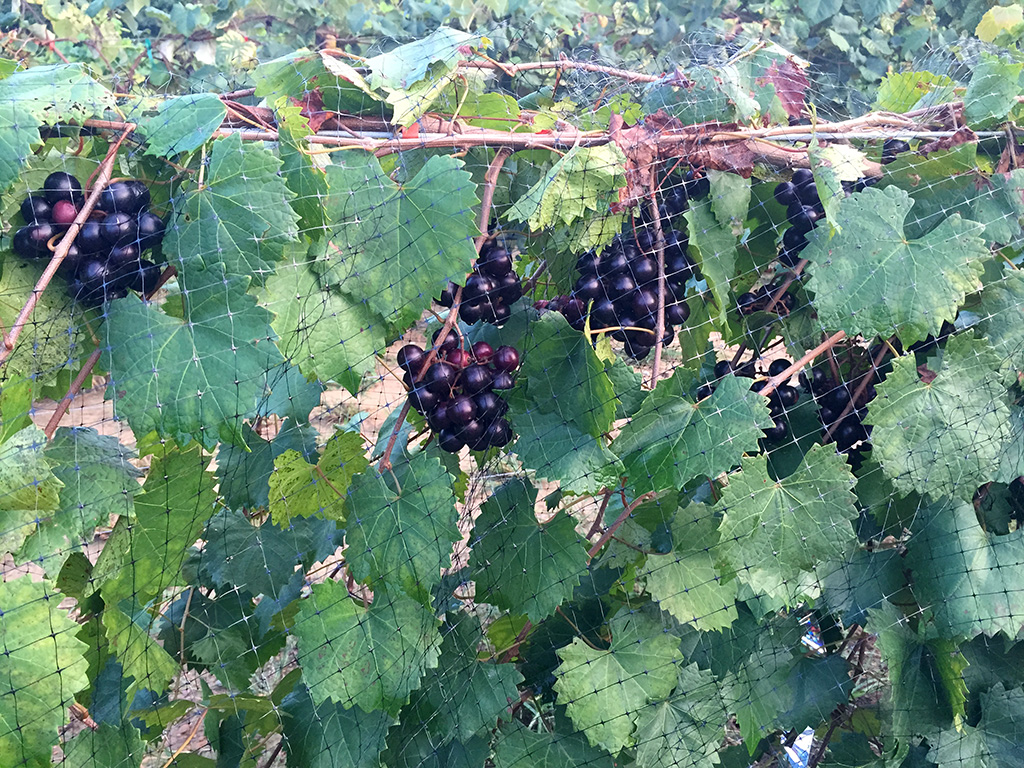
Noble muscadine has a nice cluster not individual berries like other types of muscadine vines. These look really good this year.
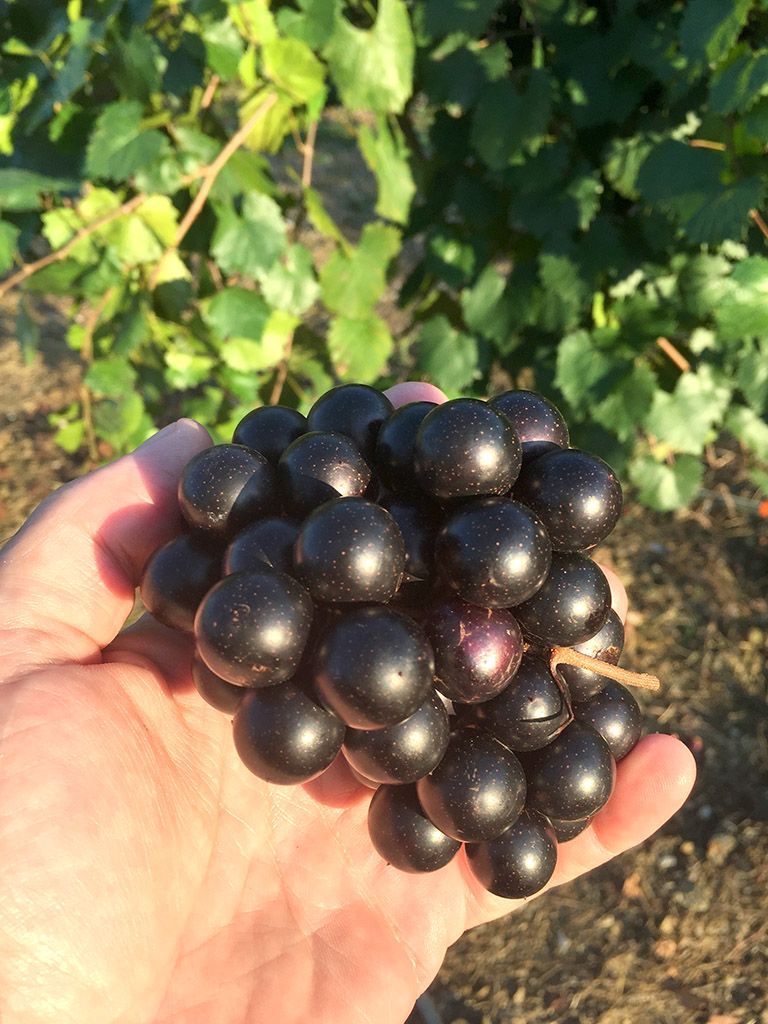
I taught Koda how to use the refractometer to test the sugar level. He checked several berries on various clusters. The brix was 15-17. We were only able to pick 65lbs this year. Not bad on these third year vines and after all the fruit the raccoons took. Next year should be a much better year.

Electric fence revisited
This is what I’m trying to protect this year. Nobel and Black Beauty Muscadine remain. Plus I want to figure it out this year because next year I will have a much larger crop.
I’ve added another wire and more post to make sure the distance between the wires are closer no gaps. First wire is 3″ from the ground. Second wire is about 4-5″ above that. Third wire 4-5″ above the second and the top wire is about the same 4-5″ above the third. I’m hoping this stops them.
Before and After


Recent Comments