
When Chickens Attack!
My son may someday hate me for sharing this, but this is funny. My daughter Syd so set him up. I did not know he can could run that fast. And no the chicken wasn’t really trying to attack him. They are pets and will jump in your lap. It really just wanted to be close to him. They follow us around like puppies. Koda is just a little scared of them… Let me know what you think?
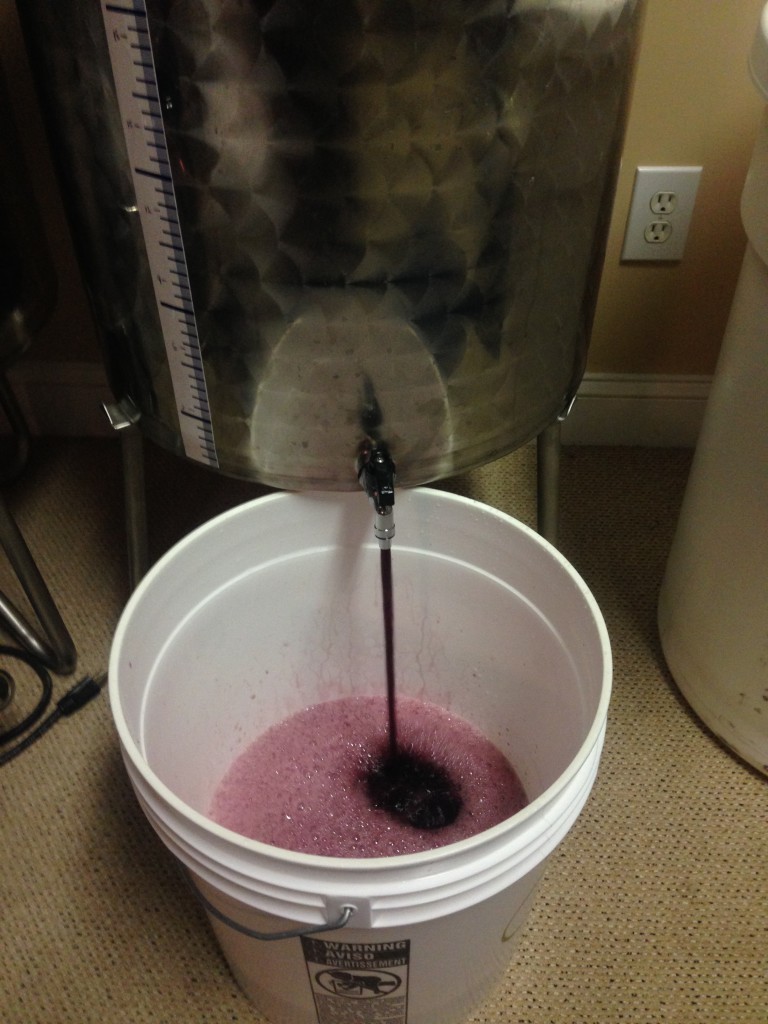
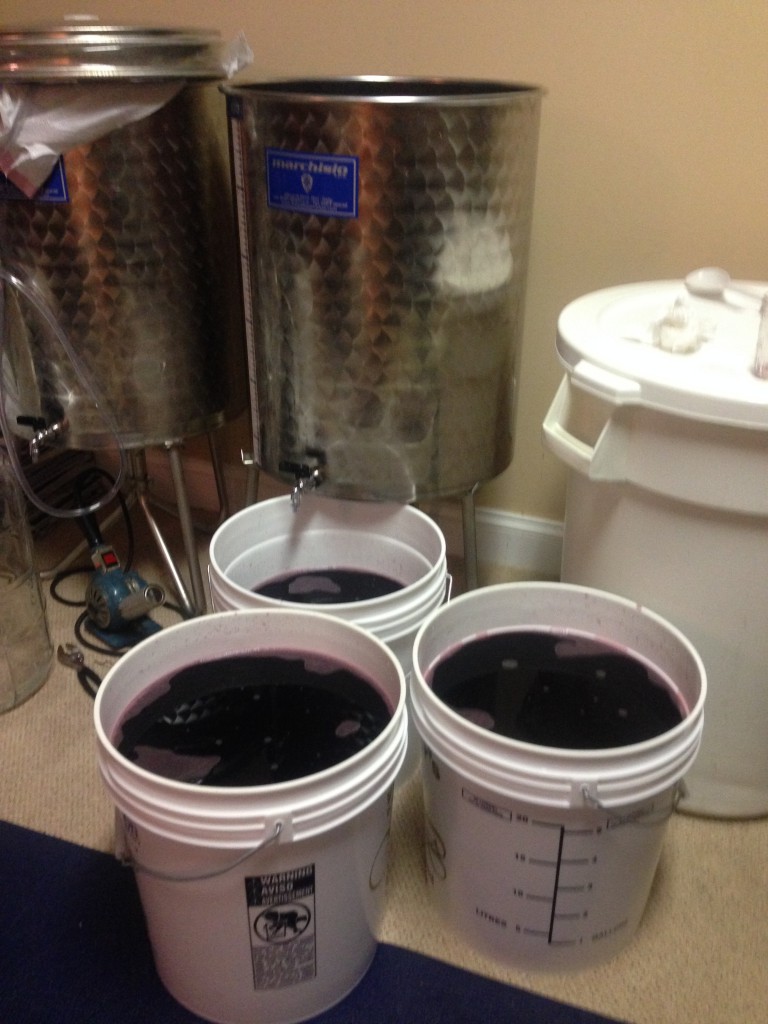
Racking Shiraz Wine
Time to rack the 18 gallons of Shiraz wine that was started back in October. Coming along nicely with great aroma and taste. Took the Oak spirals out as I think it has enough oak.
Process is to rack from stainless steal variable capacity vat to food grade buckets. After clean out the Vat, put the wine back in and make any adjustments needed. After taking PH, TA and SO2. Needed to make some minor adjustments to SO2, PH and TA were good. Put the lid back on, sealed it up and will check again in 3 months.
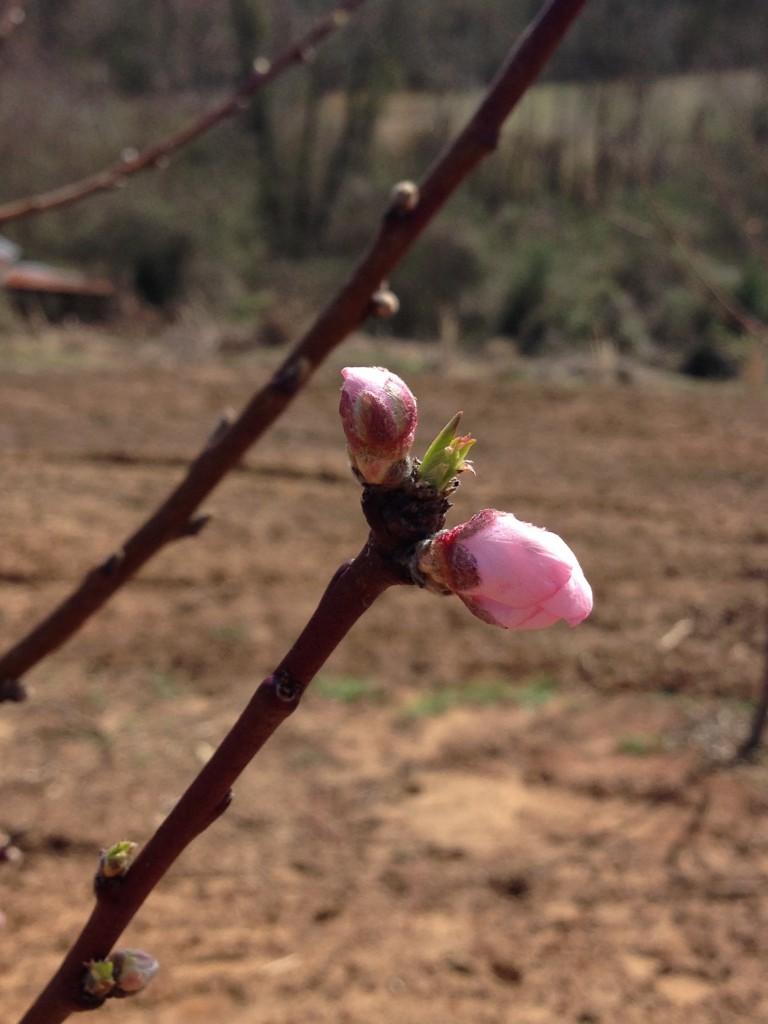
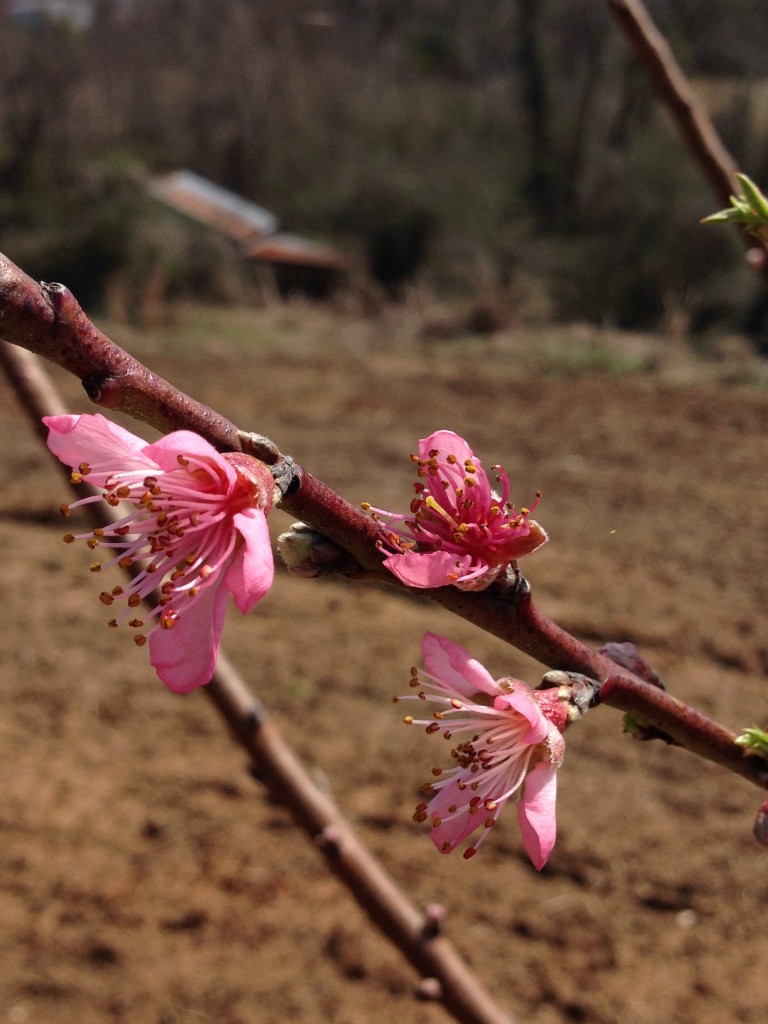
Signs that Spring is coming
We had a long cold and wet winter. I’m so over you winter and ready for spring action! Check out the peach blossoms! Spring is in the air.
Spraying a Bordeaux Mixture on the vines
This is something I really should have done in late fall after the vines were in full dormancy, but it can be done early spring as well. So what is a Bordeaux mixture? Its an outstanding fungicide and bactericide that’s been used for decades to control some diseases in the garden, orchard and vineyard. Great for powdery mildew and black rot. I went with the traditional 10-10-100 ratio. The numbers refers 10 lbs. of copper sulfate, 10 lbs. of hydrated lime and 100 gallons of water. For my size of vineyard, I break that down to 1 lb of copper sulfate, 1 lb of hydrated line, and 10 gallons of water. Okay, that still a bit more than I need for one spraying and once you mix this all together it does not keep long. So I mix 1 lb of coper in an old washed out 1 gallon plastic milk jug and fill to the top with water (leave a little air space). Mix well and set to the side. Now do the same for the hydrated lime, 1 lb in a milk jug, fill almost to top with water, give it a good shake and set aside. Here’s the hard part, you really need to wait a couple of hours, or until the next day, to give the mixtures time to incorporate well with the water. Give it a good shake every time you see it for good measure. The water will separate over time, but no worries you will mix before use.
Final mixing, if you have a 2 1/2 gallon sprayer, put about a gallon of water in the sprayer, shake the milk jugs with the coper and lime good to incorporate well. Then pour 1 quart of the lime and 1 quart of the copper into the 2.5 gal sprayer. Put top on and mix well. Now take off the top and fill to the 2.5 gal mark put the top back on and shake it up baby. If you only have a 2 gal sprayer, pour about a gal of water in the sprayer, then measure out 25 oz of copper and 25 oz of lime after you gave them a good shake into the sprayer. Now fill the rest of the way to the 2 gal mark, put top on and shake shake shake.
Warning: You really need to wear protective gear when mixing the hydrated lime. It comes in a powder form and is very dusty. You don’t want to breath it, or get it in your eyes. Although the copper and lime are both organic, together they are very toxic and corrosive. Make sure you label both solutions and store them away from children! Also the this blue mixture will stain anything it touches so be careful how you use and wear protective clothing like I did below.

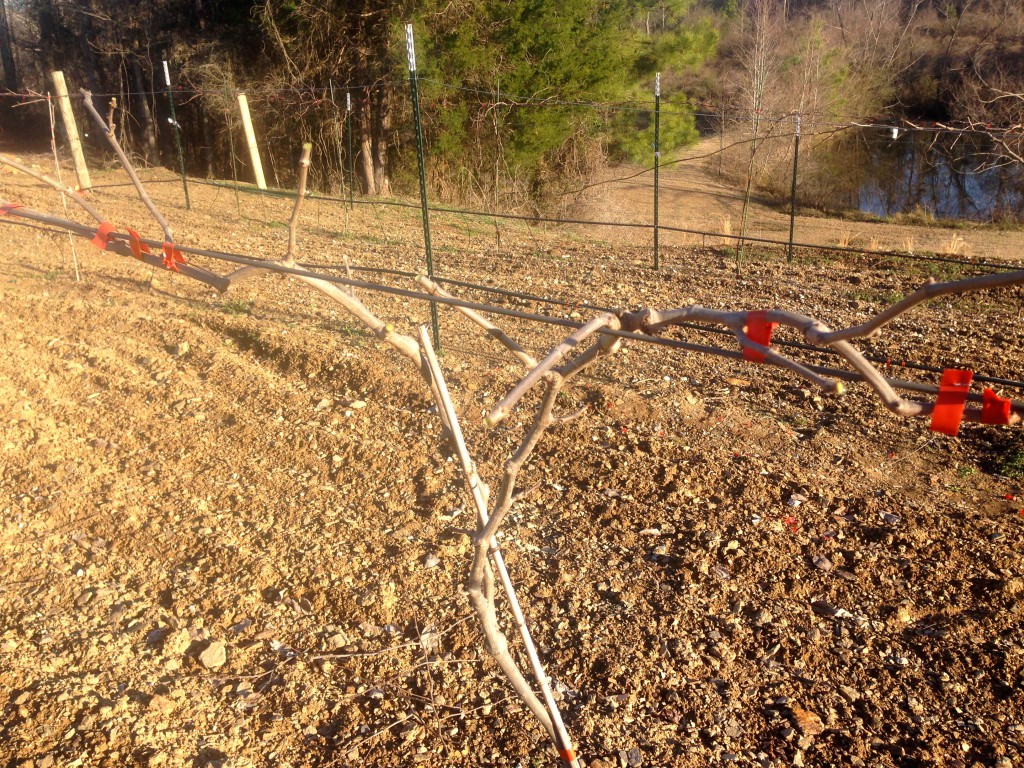
Pruning of the Vines
A little later than I had planned, but I finally pruned the older vines this weekend. Decided to go with top cordon spur pruning system for all the vines. I could get a little more production from the black spanish if I used a cane pruning system, but it’s a lot more maintenance. Both systems are used for these vine types.

Pruned Black Spanish grapevines above
Pruned Noble Muscadine vines above
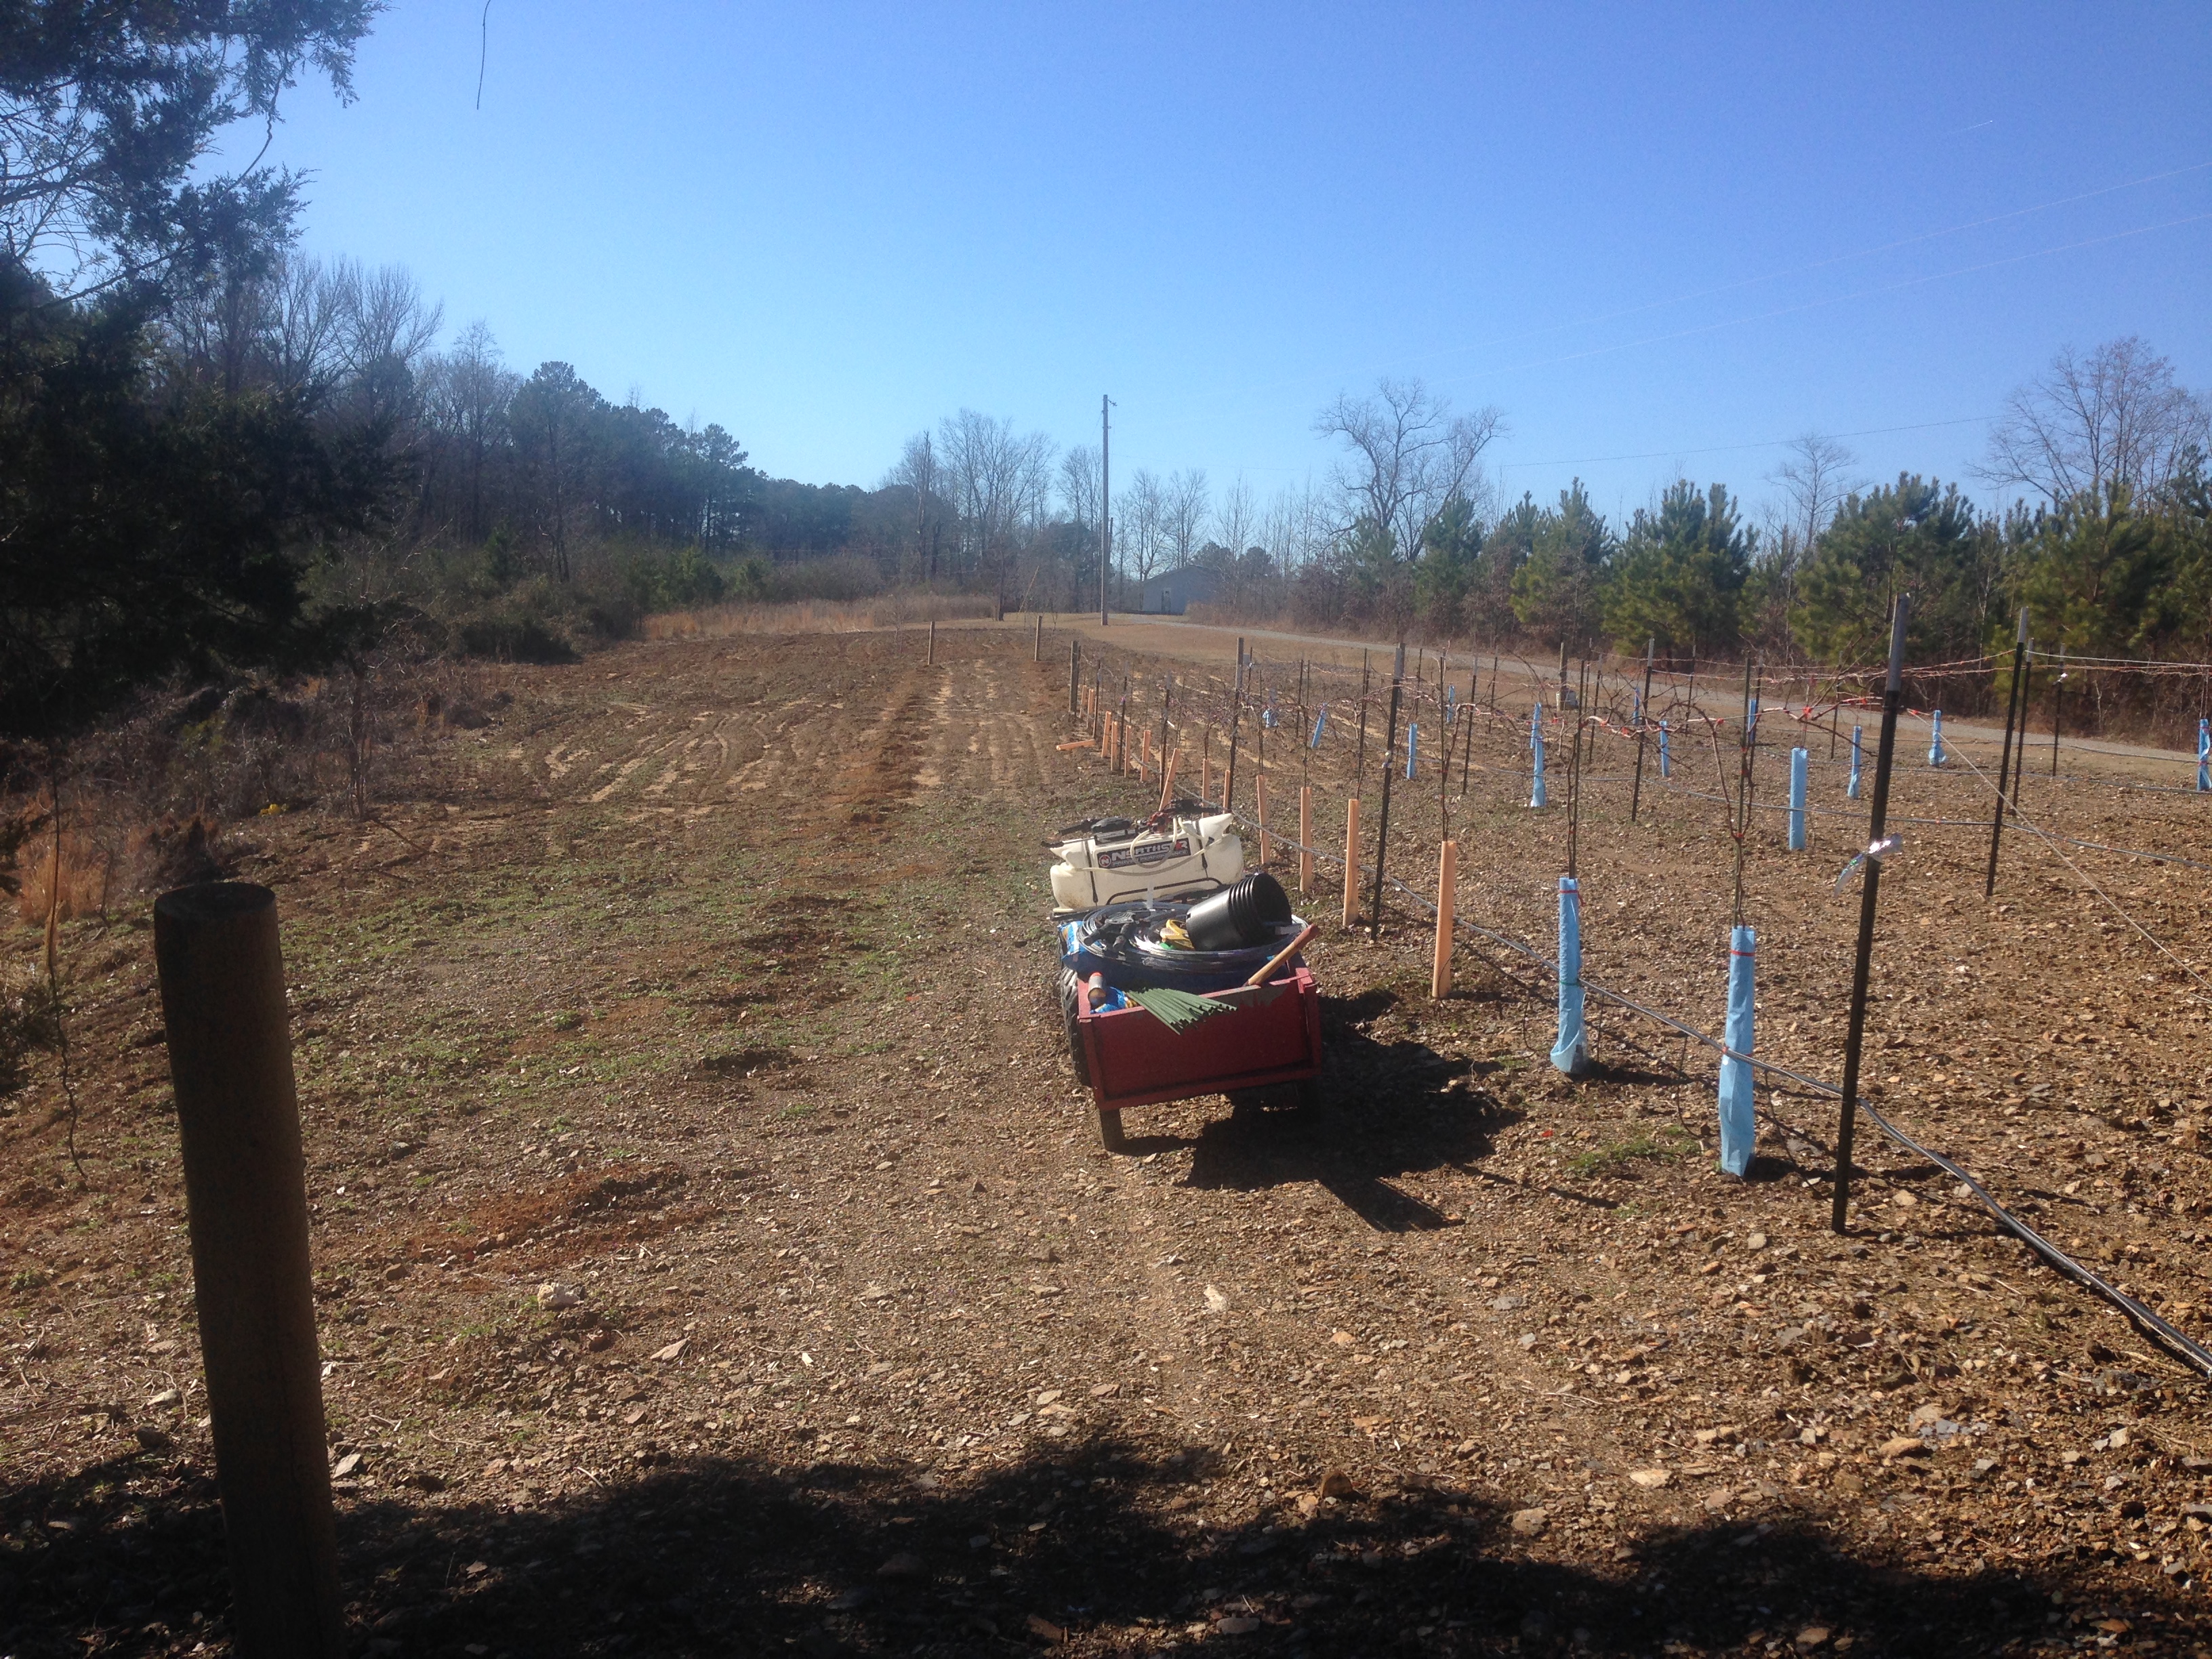
Installed T-Post and pruning new vines today
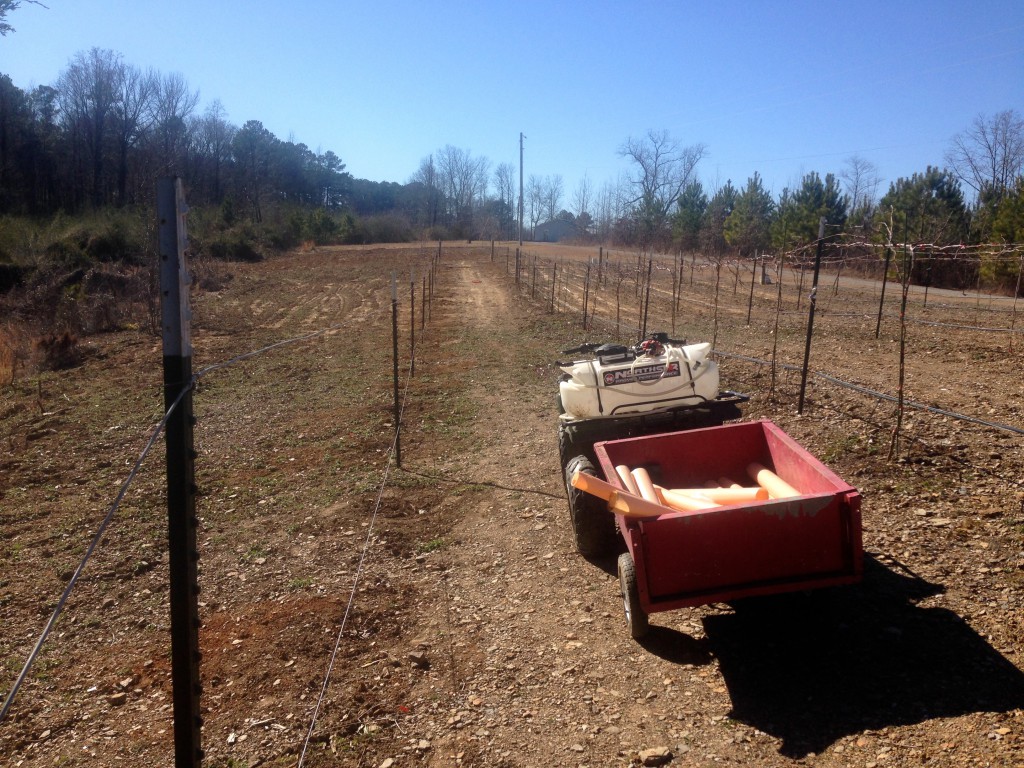
Today was a great day in the vineyard. It was like a spring day, 60deg and not a cloud in the sky. Added the remaining 7 T-Post and tightened the wire. After lots of research I decided to use high cordon trellis system on the new Blanc Dubois vines. Plus that’s what I’m using on the other vines.
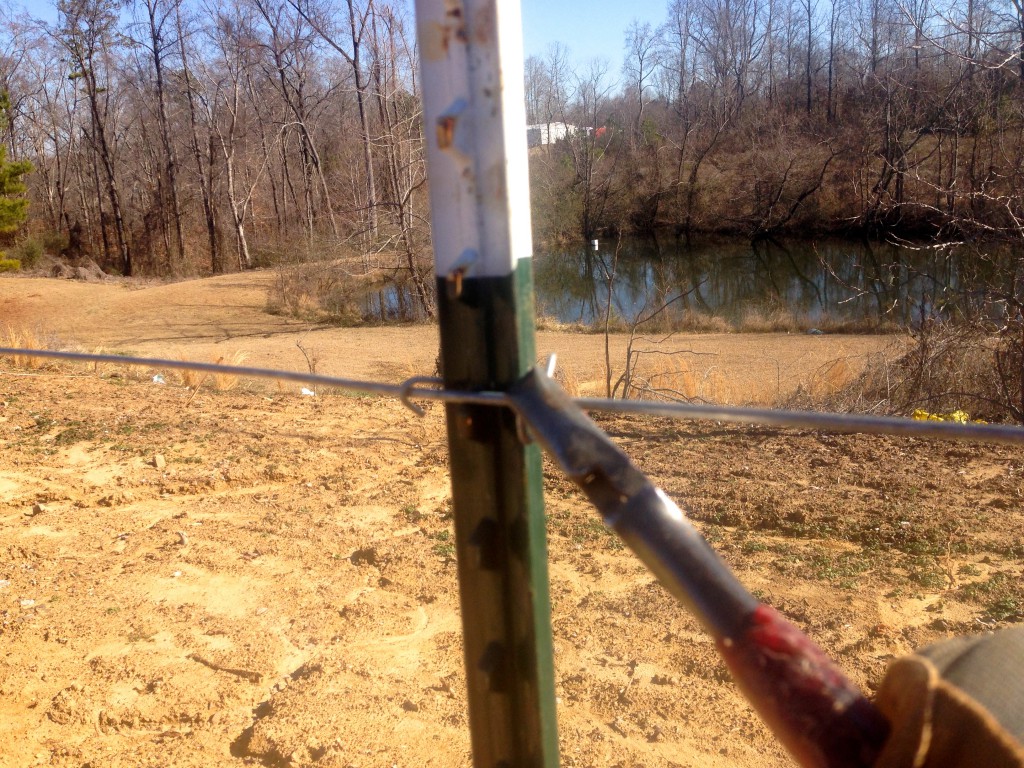
The wire is held in place with a clip. Pretty simple system that is easy to work with.
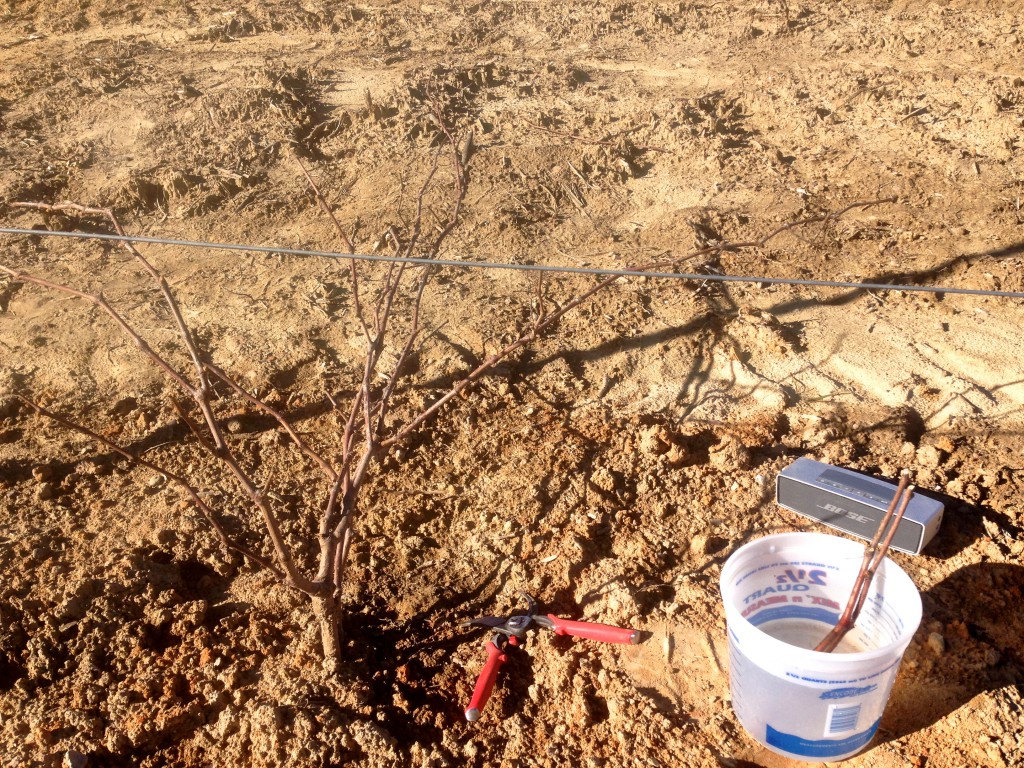
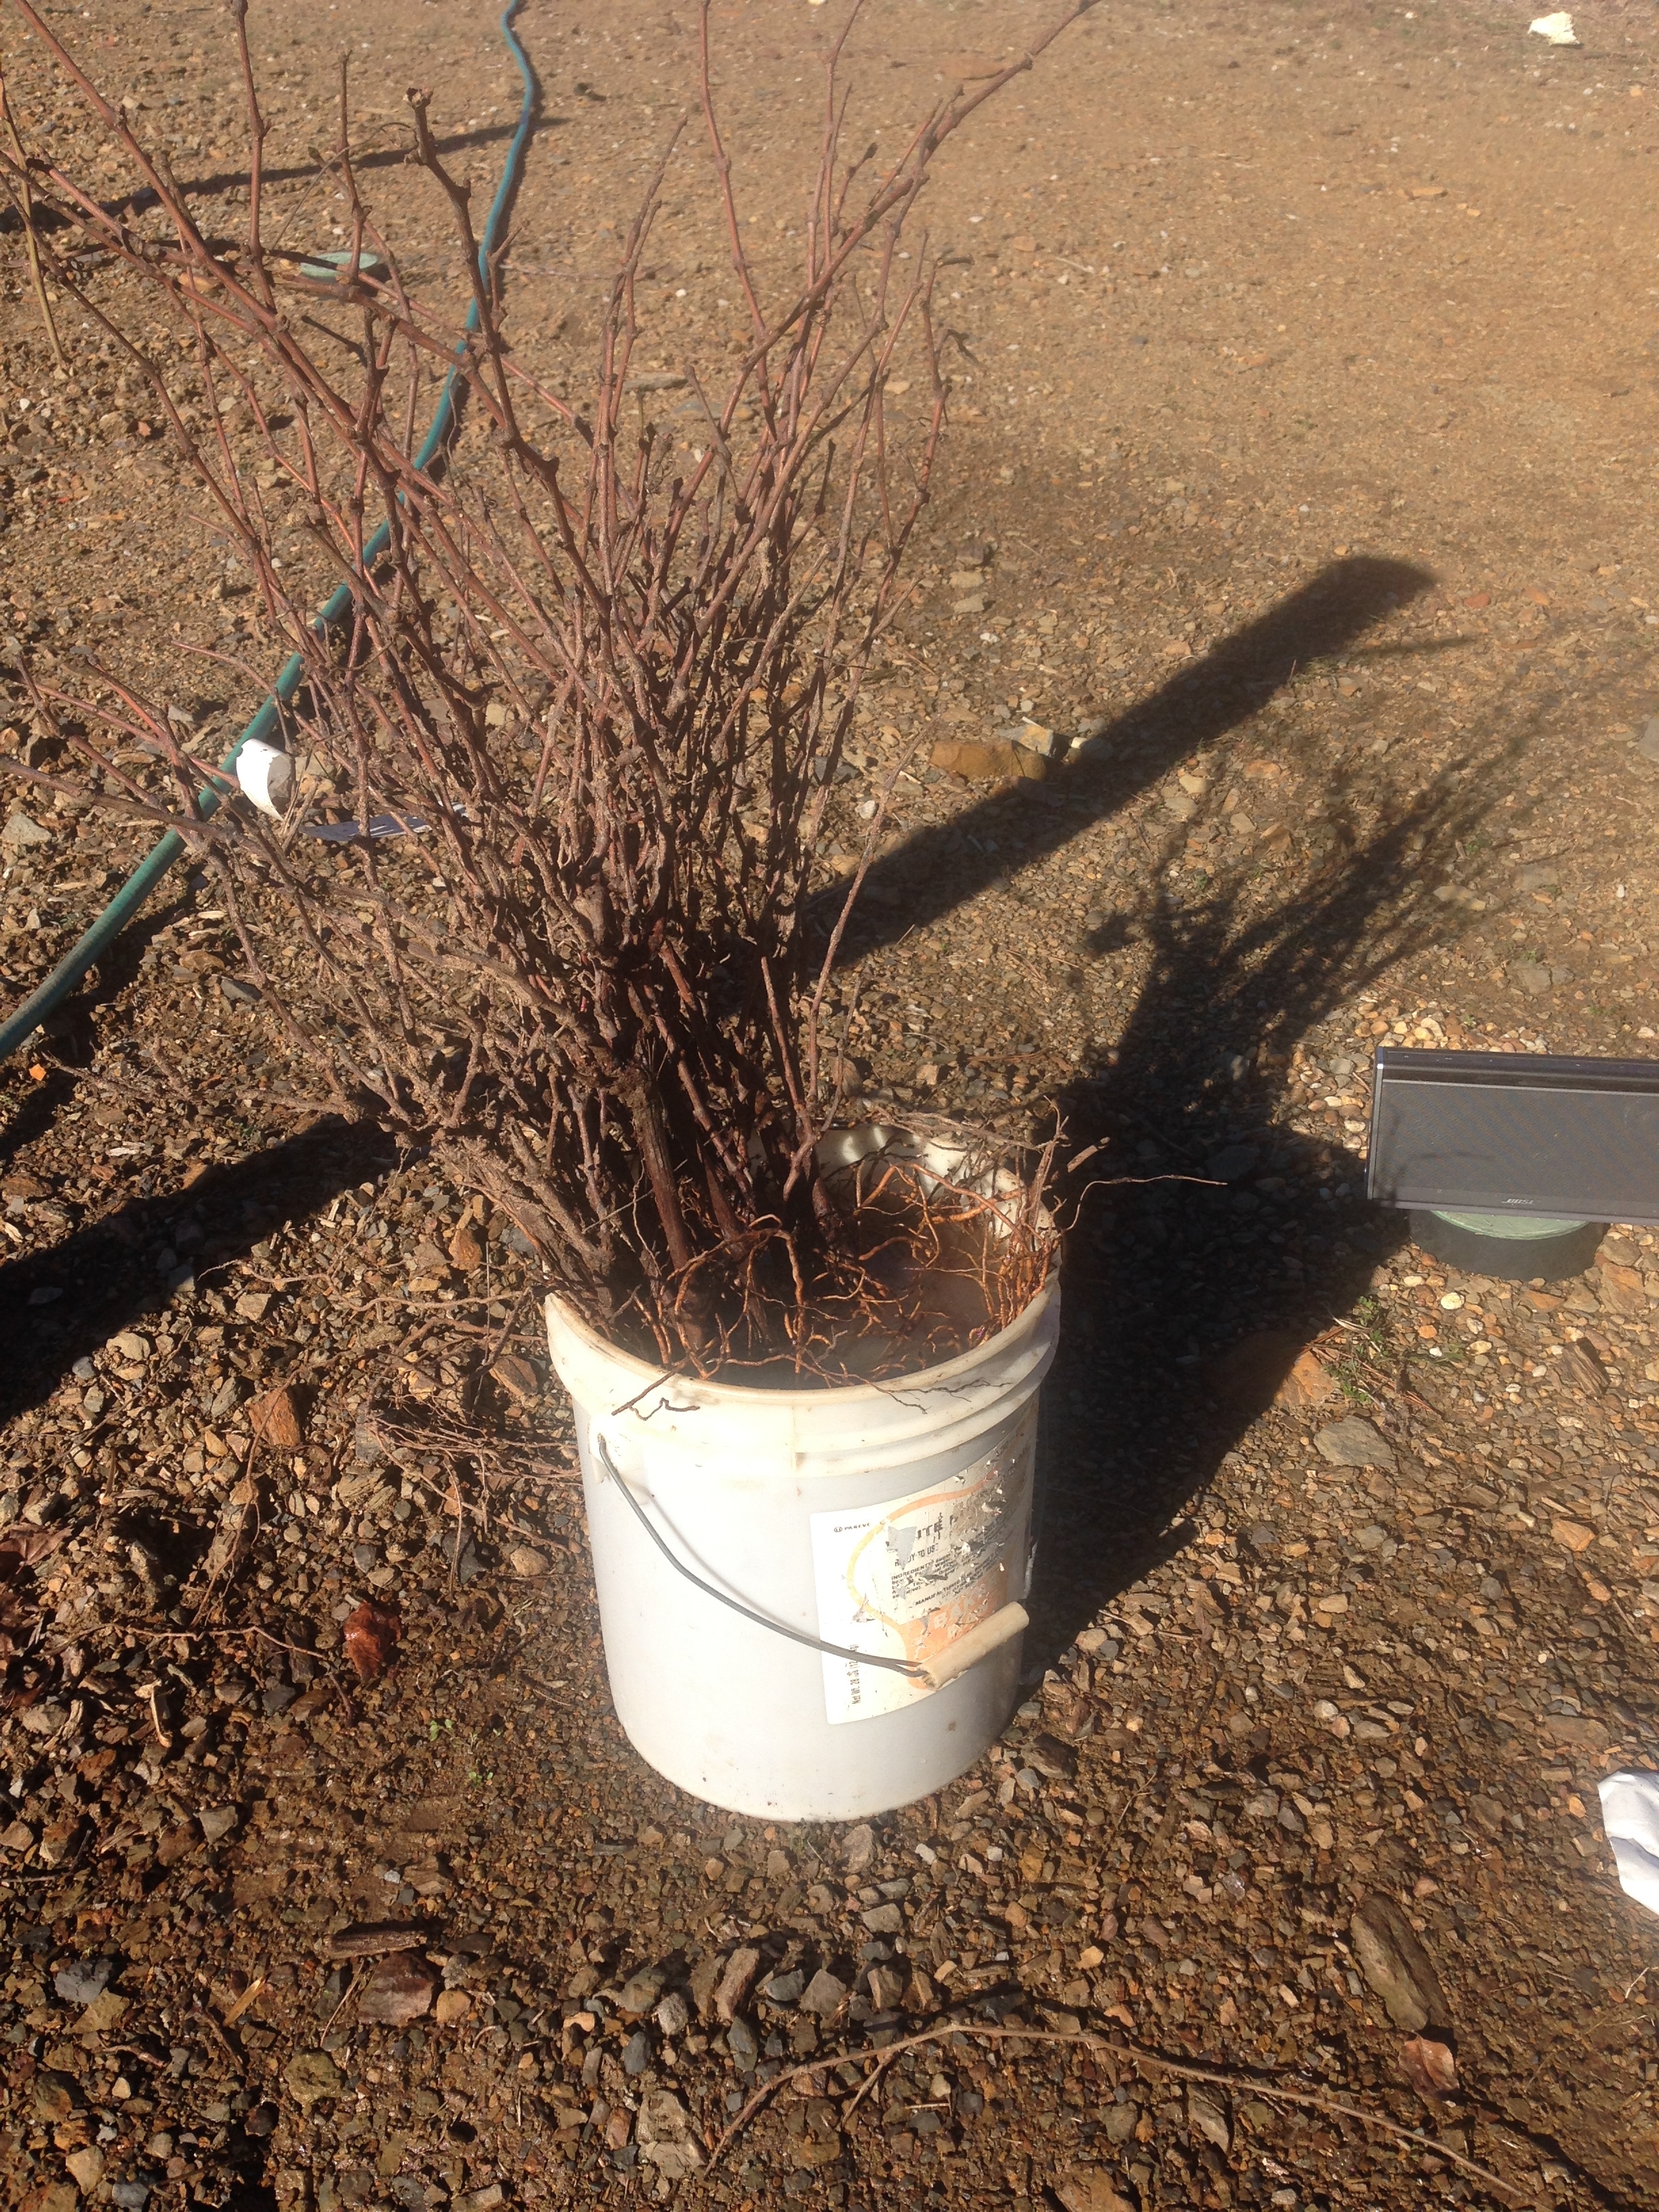
Decided to go ahead and prune the new vines I planted a couple of weeks ago. When you get new vines, they can have 1-3 years of growth that need to be trimmed to a single strong vine. I put the strongest of wood trimmed from vines in a bucket of water so they don’t dry out. I later planted these in potting soil after dipping in root hormone to promote rooting. I’ll keep them in the shop with no light so they don’t break bud too soon.

Here’s the same vine partially trimmed.
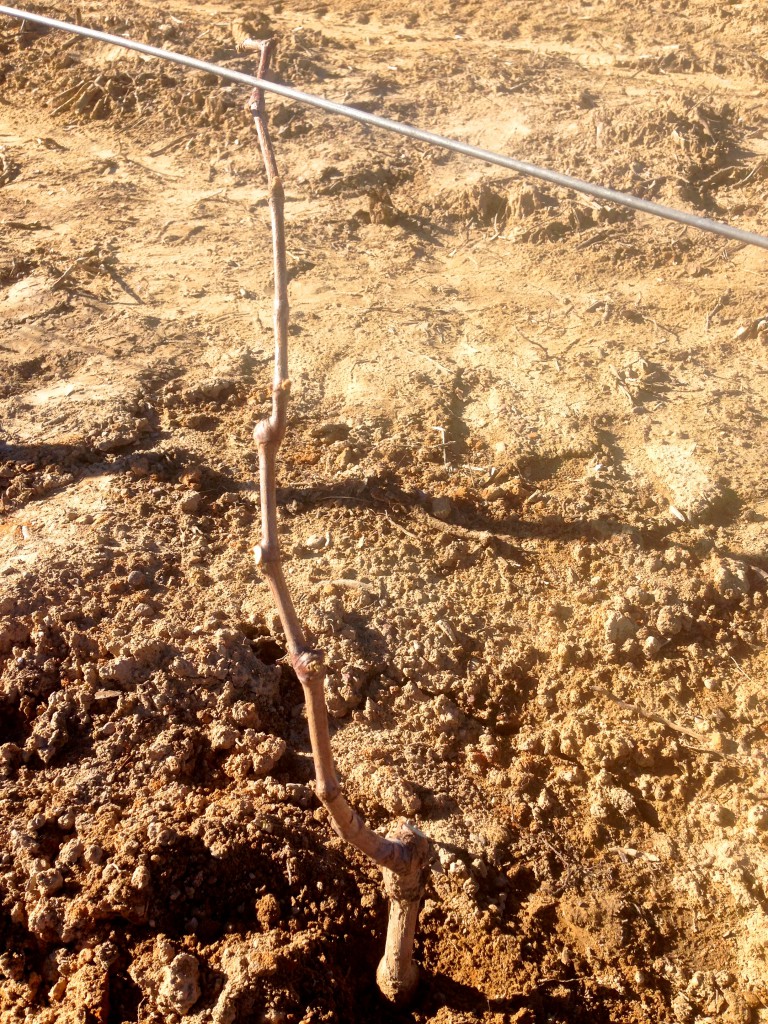
Done with all the cuts and nicked out all but the top three buds. After bud break I will select the strongest bud and pinch off the other two. I only need one to grow up to the top wire.

This is a Lomanto grapevine I planted last year. That is a huge vine from one year of growth. I planted 10 but after seeing the vigor of this vine, I decided to add more Black Spanish this winter as it’s not near as vigorous. This means I wont need to trim and train the vines near as much. I’m still searching for the right vines for the terroir of my farm.

I also planted several types of Muscadines. This is a Noble vine. They are very vigorous but still not near as much as the Lomanto.
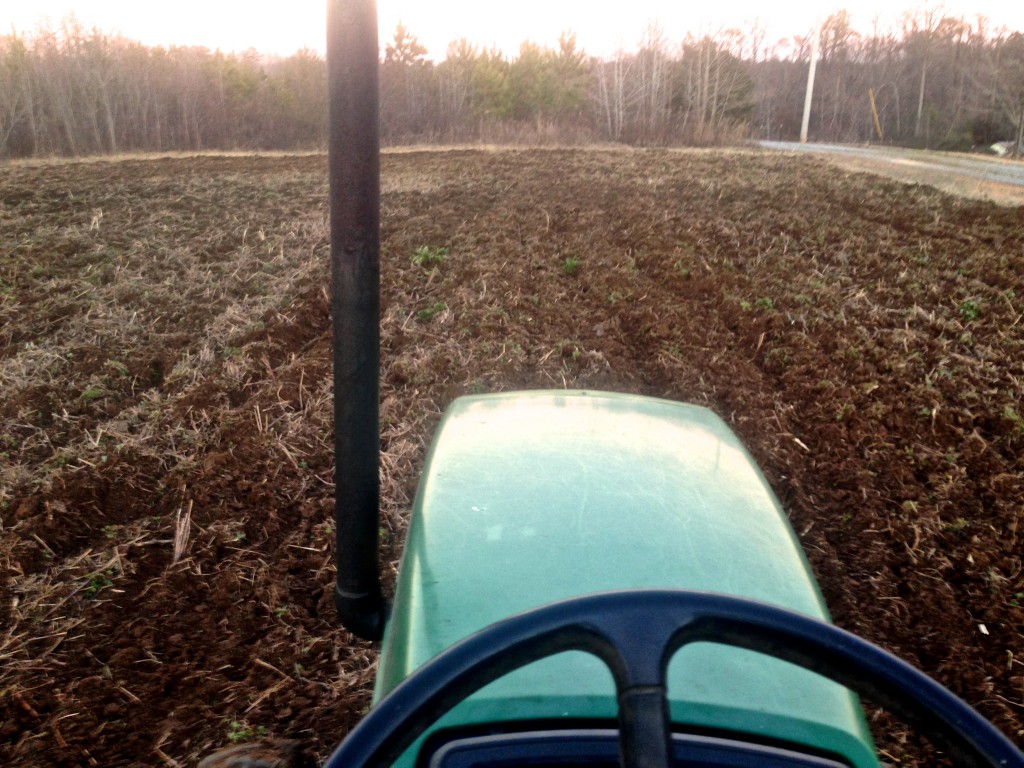
Turned the garden over just before it got dark. Long good day on the farm.
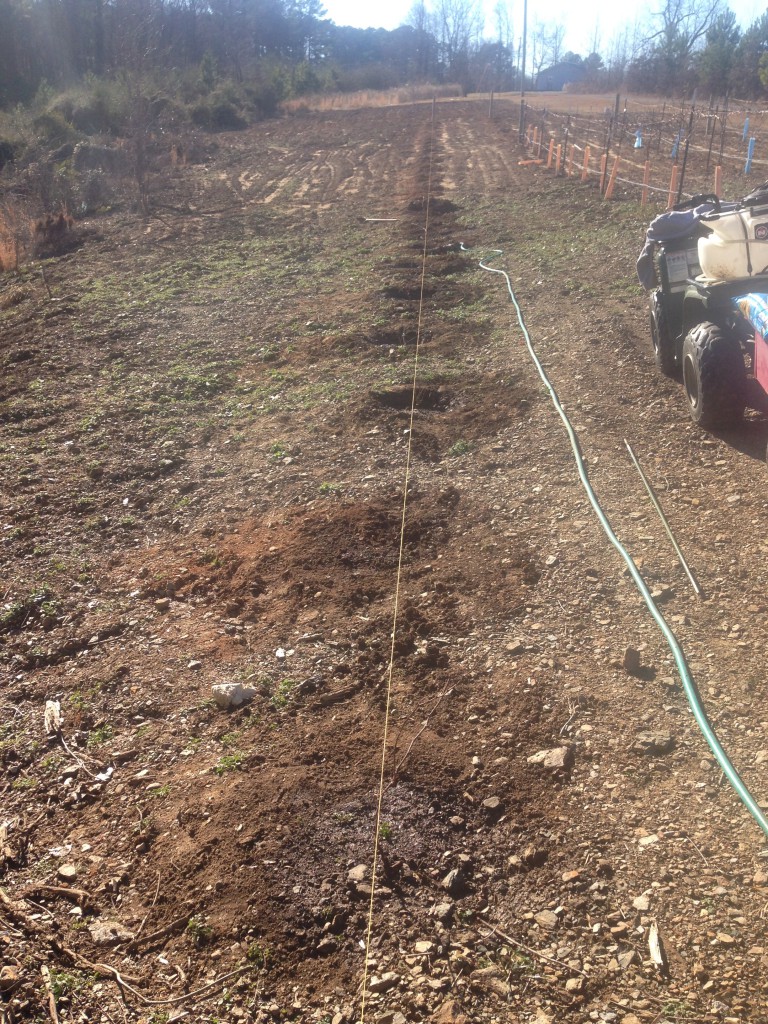
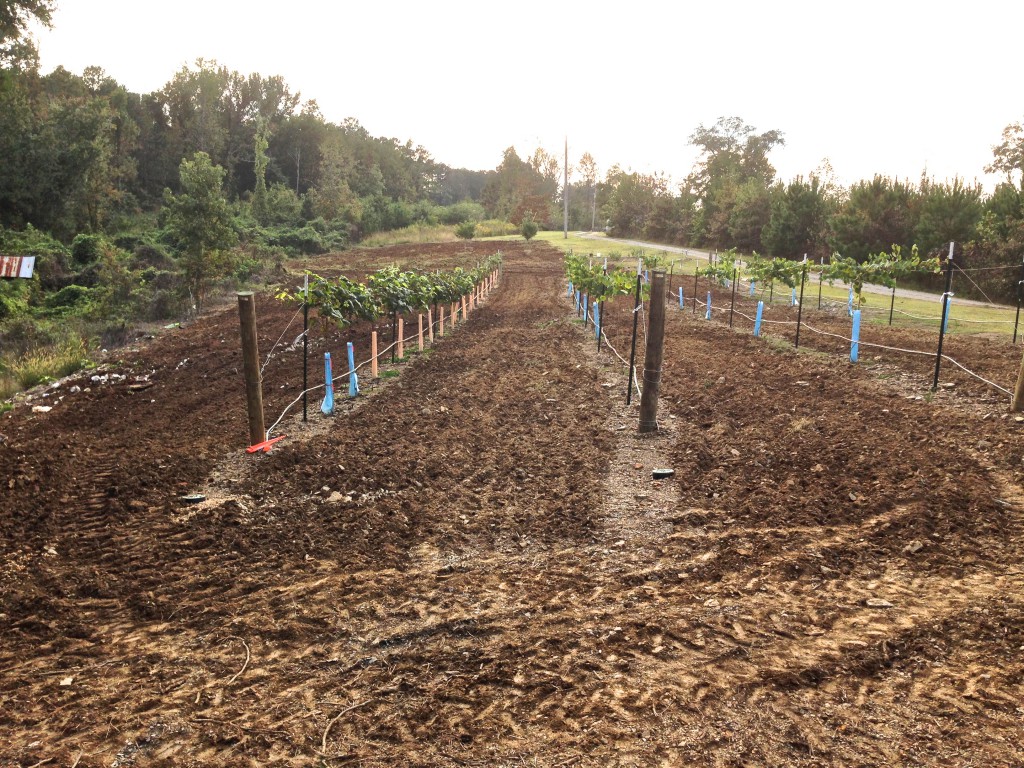
Adding Blanc Dubois grapevines and more Black Spanish
Decided to add a row of Blanc Dubois grapevines to the vineyard. 30 vines to be exact. Living in the South we are limited to types of vines we can grow due to pierce disease. After a lot of research I decided on this vine. Plus I needed some white grapes, I’ve only planted red to date. I hear some people don’t want or like a red wine. Don’t understand that, but okay, white will be added. The Black Spanish did pretty good last year so I decided to add another half row. I now have about 30 of those vines as well. They didn’t have issues like the Lomanto did last year. They also don’t grow near as fast. With the vigor less, should make it easier to work with.

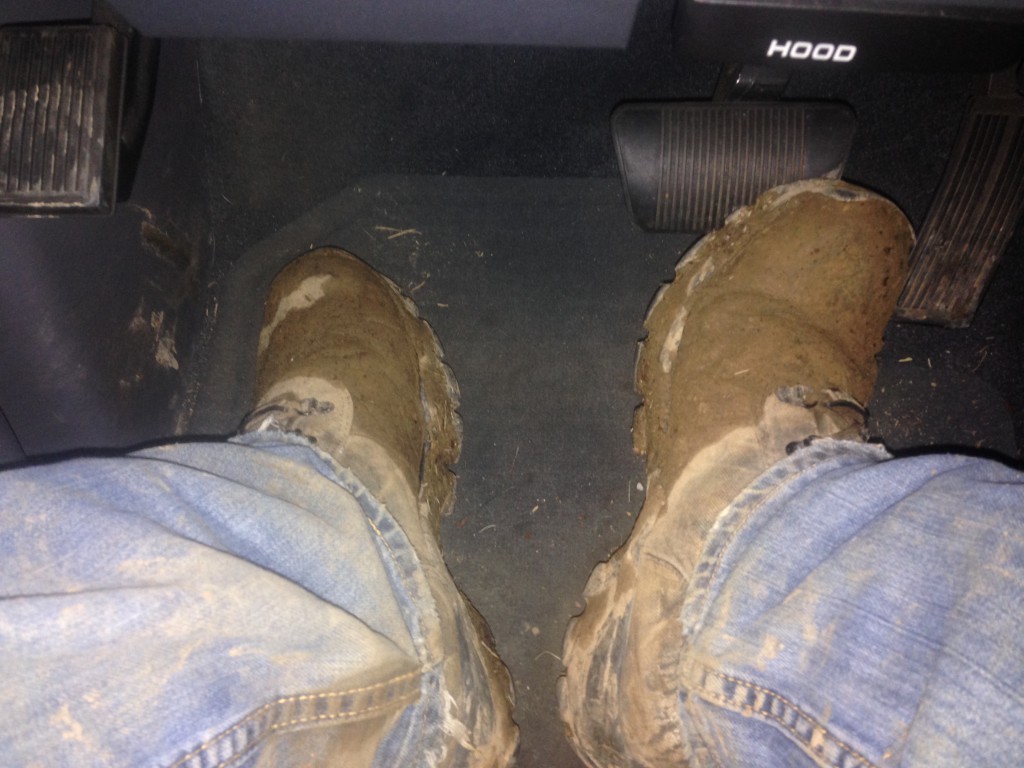
My poor wet, tired feet.
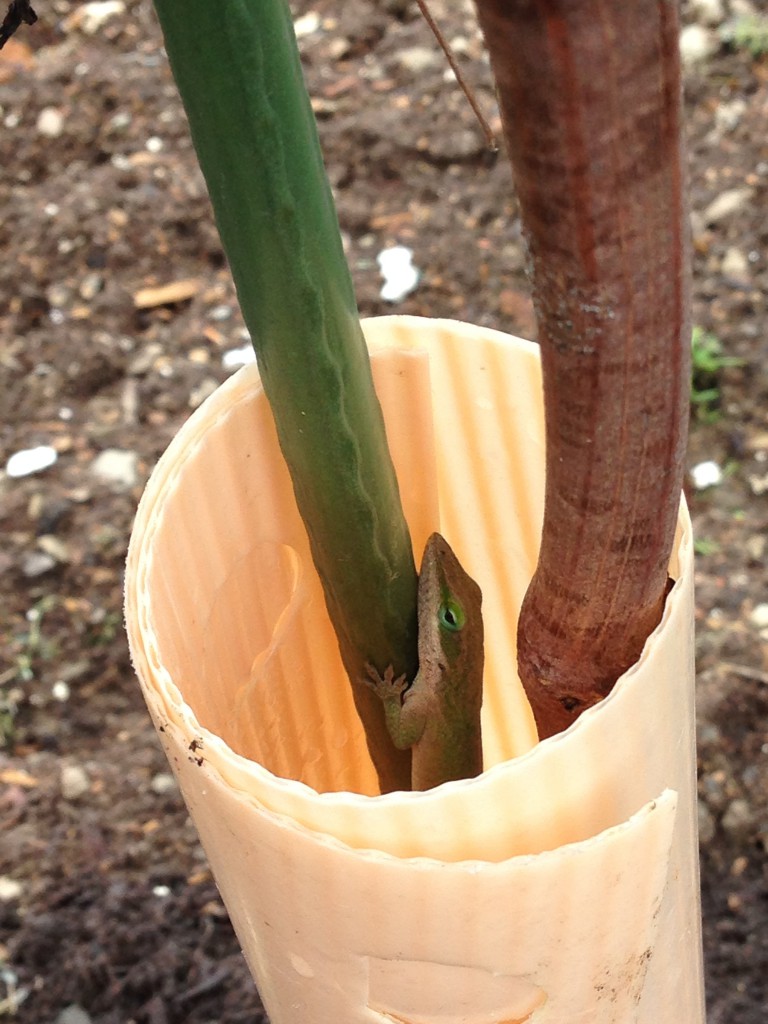
Hiding from you
Shhhh just walk by. You see nothing…. Found this little guy hiding out in one of the growth tubes around my grapevines.
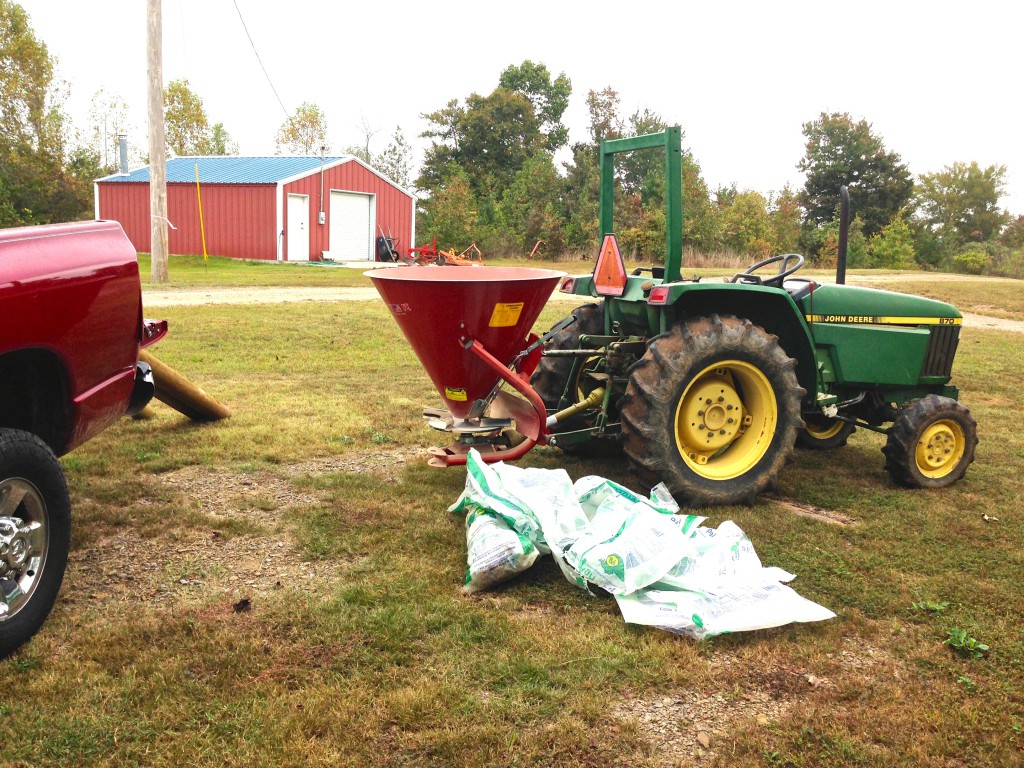
Lime application
Put down about a 900lbs of lime today. PH was a little low. Trying to get it up to 6.5 from 5.9 – 6.0.
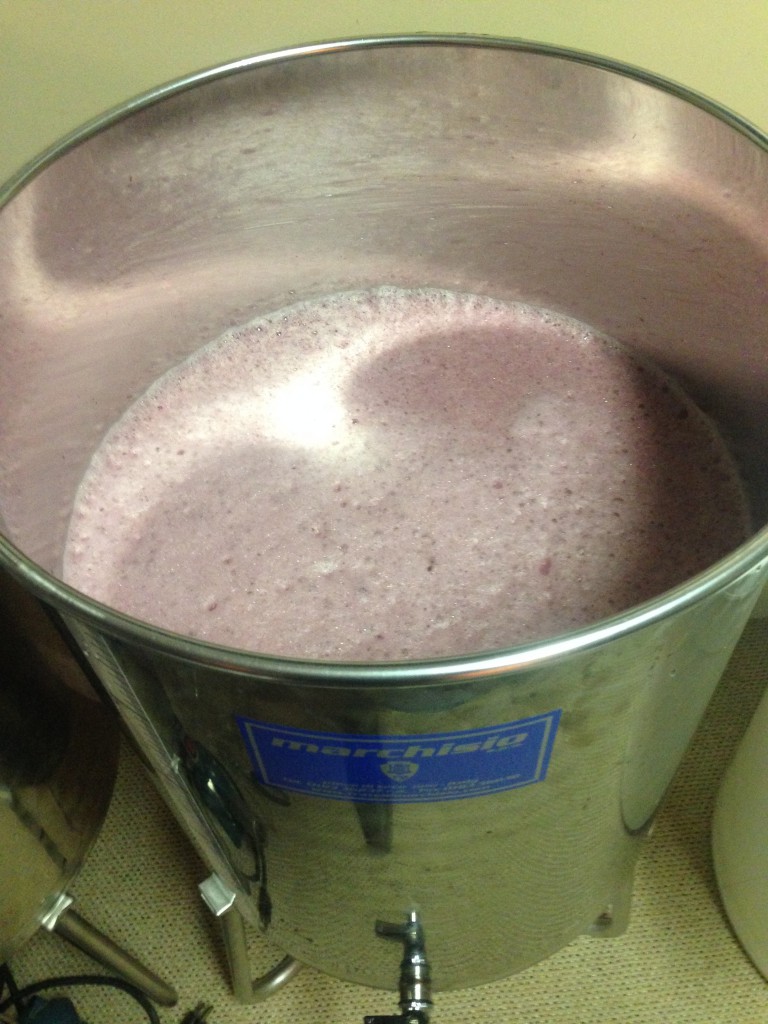
Video of Norton and Muscadine wine fermenting
This is from my daily punch down. The CO2 from the yeast makes the skins float to the top. You need to push them down under the must (juice before its wine) at least twice a day. Keeps bacteria from setting in and ruining the wine (vinegar), it also helps to form the dark red wine color as this deep red/purple color comes from the skins. If you didn’t ferment on the skins, you would get a light colored Rose’ instead.
Before and After


Recent Comments