
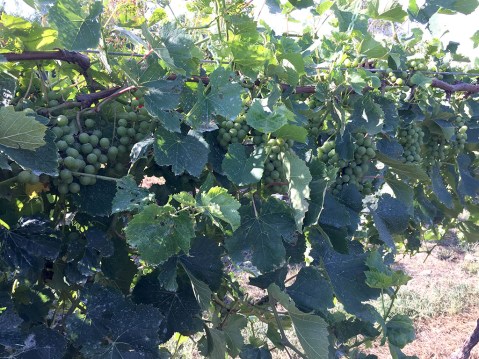
Black Spanish grapes
Black Spanish grapes video showing how the vines are loaded with grapes.
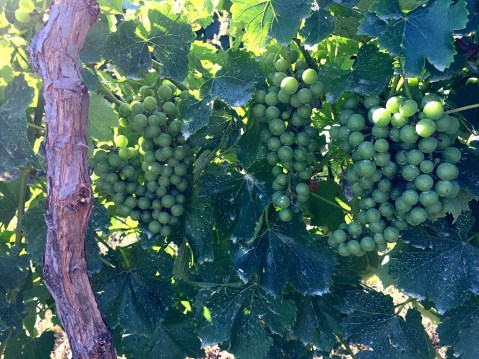
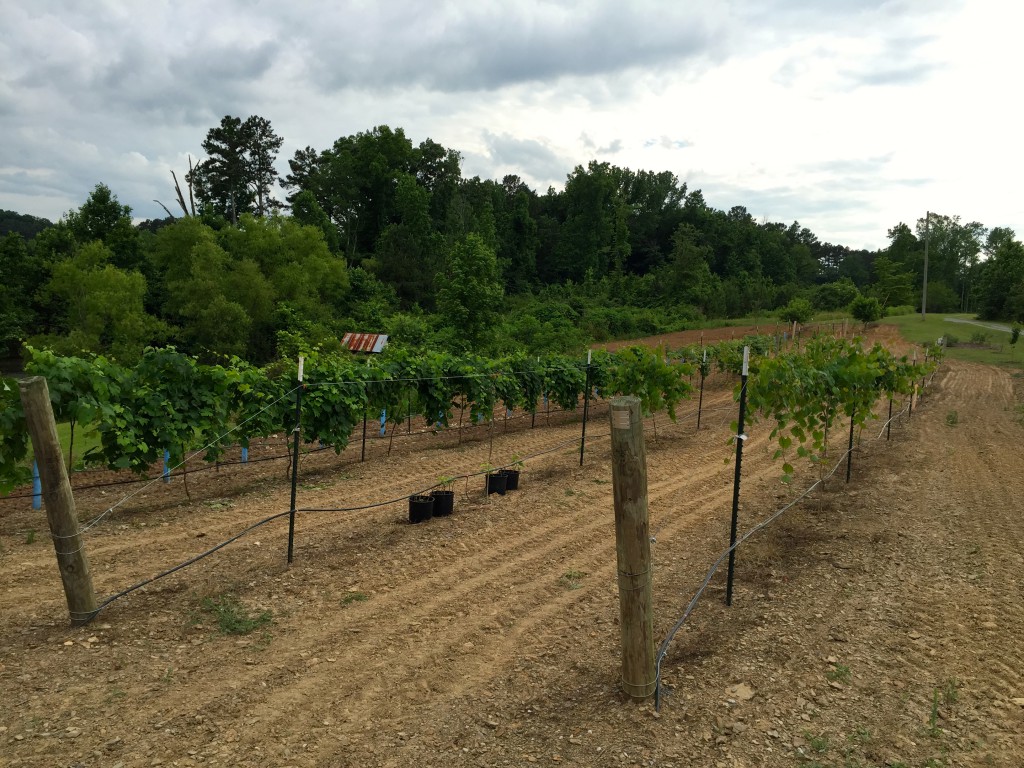
Blanc Dubois looking great
First year to get a small crop on these vines. Next year will be better.
Big mistake on the cluster thinning
Back in April I made the decision to leave two clusters on each of the Black Spanish laterals. Well, that was a mistake and paid for it this weekend. Decided to thin down to one cluster per shoot. So much easier before the canopy was full! We had so many clusters the vines looked like one big mass of grape clumps in some areas. I thought I got some before pics, but evidently I forgot. Here’s some after I started thinning.
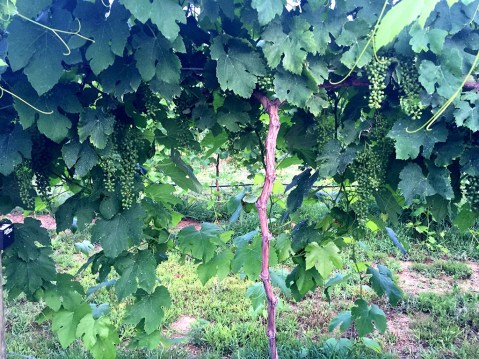
I also started working the canopy management. On high cordon system like I use, you need to reposition the shoots so they don’t just all mat up on top of the canopy/wire. Mid June to July after the shoots near the cordon have started to turn brown and are stronger you can start to pull them down from the top. I also cut them so they can’t touch the ground.
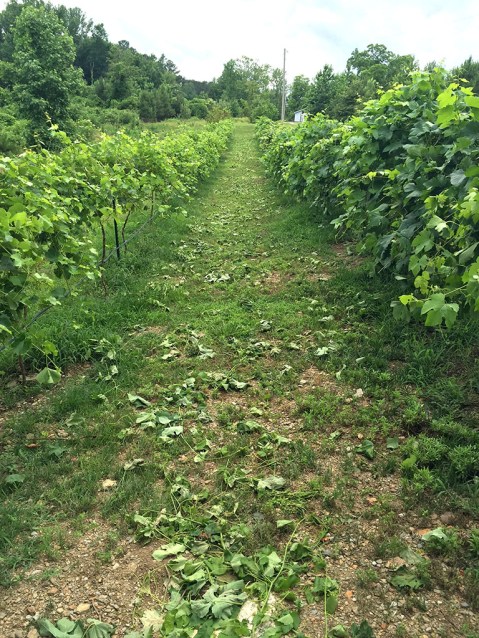
Thats a lot of fruit I cut off, but the vines will be better for it.

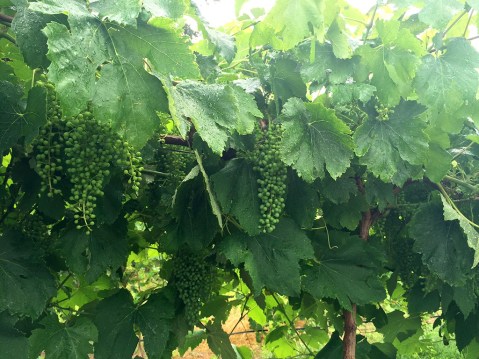
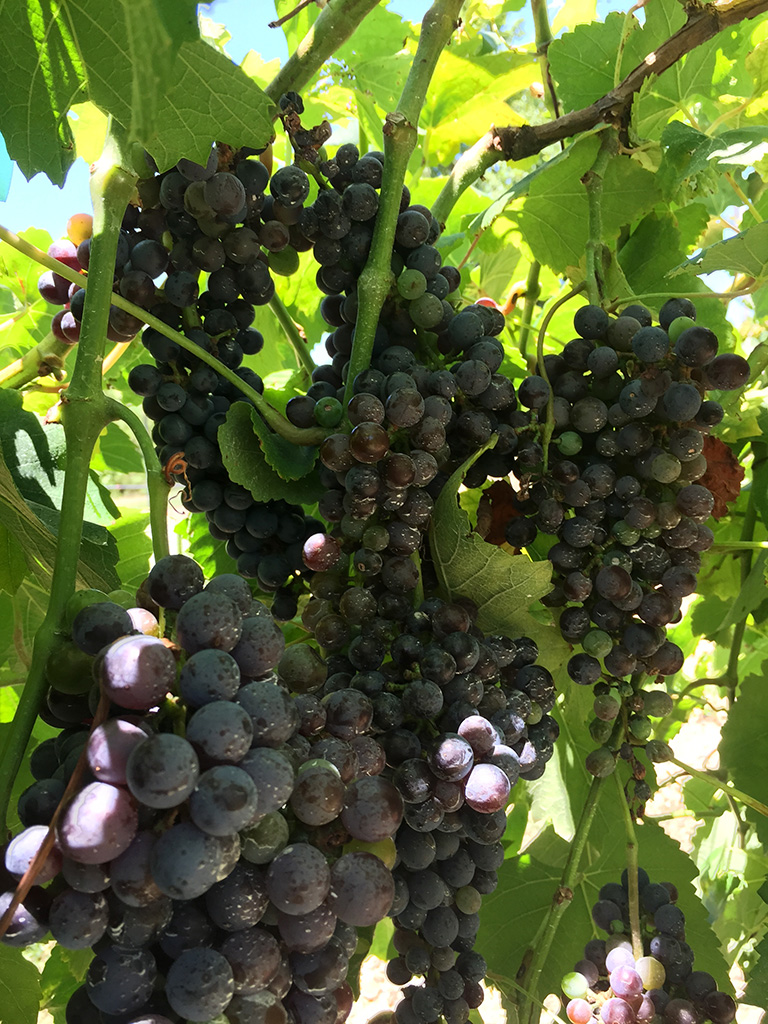
Grape clusters are growing fast
We’ve had lots of rain this spring and the grapes are growing great. Check out the clusters of Black Spanish grapes. 
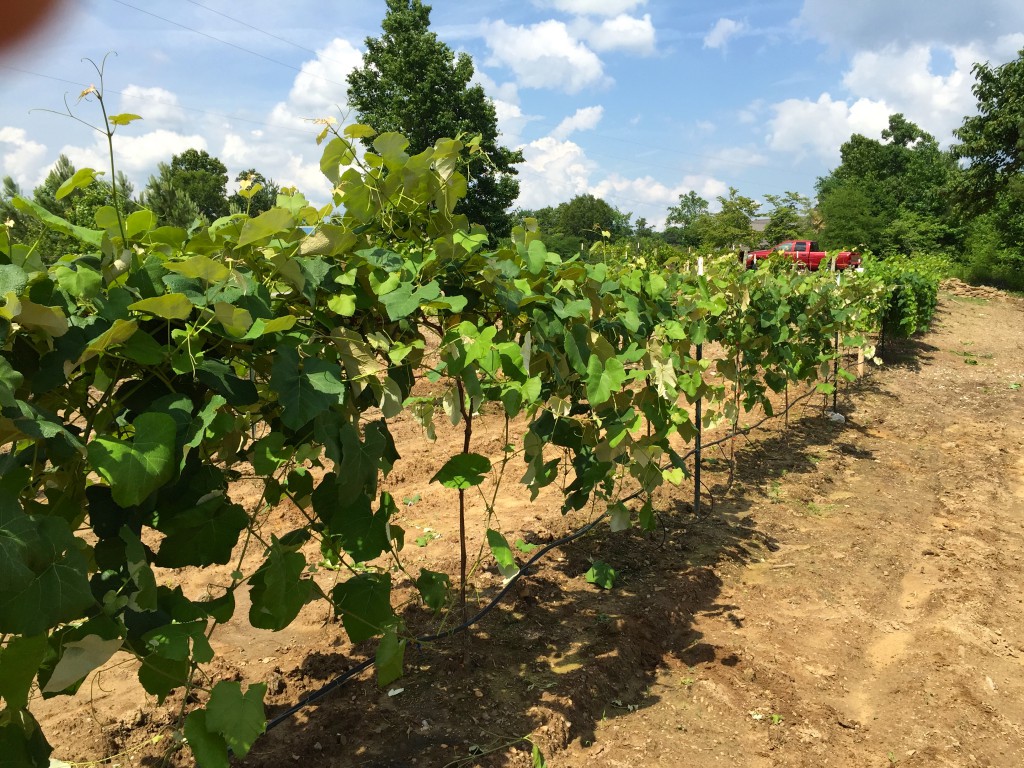
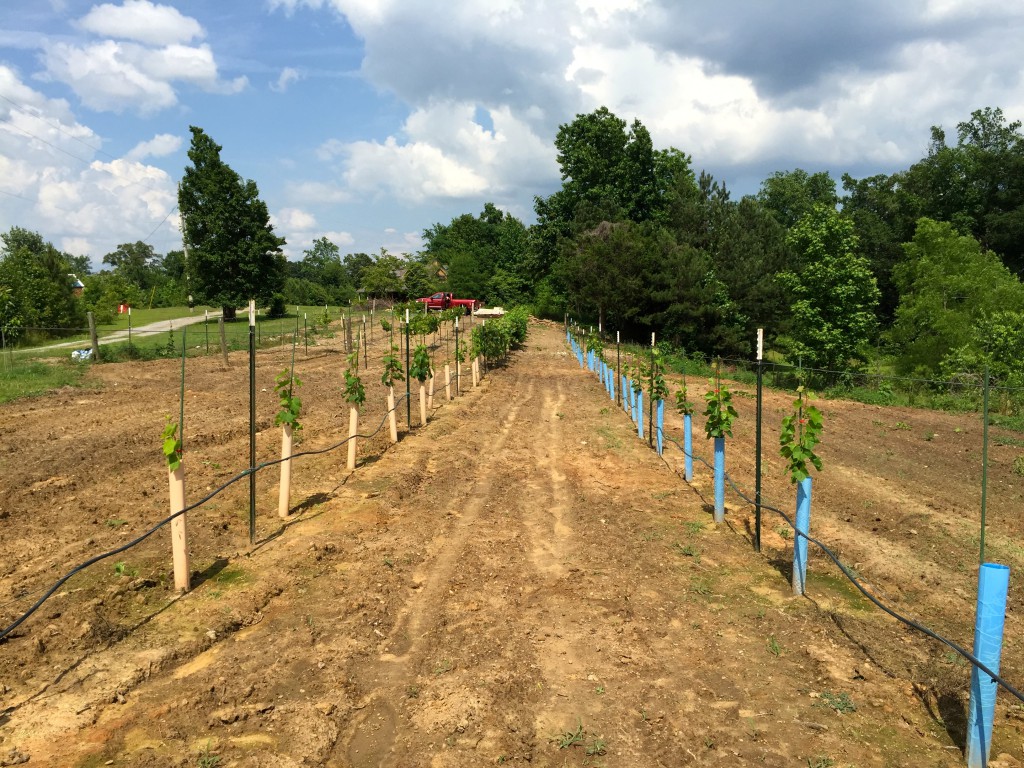
Grapevines are showing signs of life
The shoots are starting to emerge on the grapes vines. The muscadines are still sleeping, but the buds are starting to swell a bit.

This year I decided to try and propagate some new vines from the clippings. About 125 vines to try Lomanto, Black Spanish, and Blanc Dubois. We’ll see how it goes.


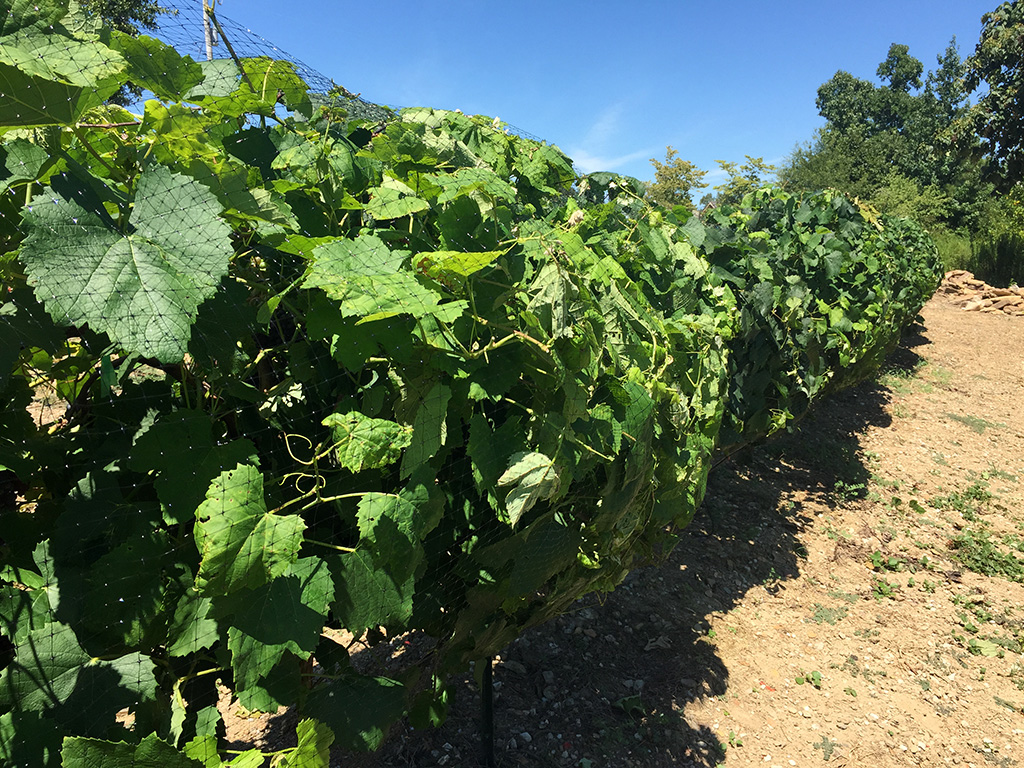
Preventing the birds from getting these grapes
The birds got all the Lomanto grapes, so I’m going to put the bird nets on the Black Spanish.
The nets are on! They still might be able to get to some of them, but hopefully I can protect the majority. Tucked and pined nice and neatly on the bottom so they can’t get in that way.
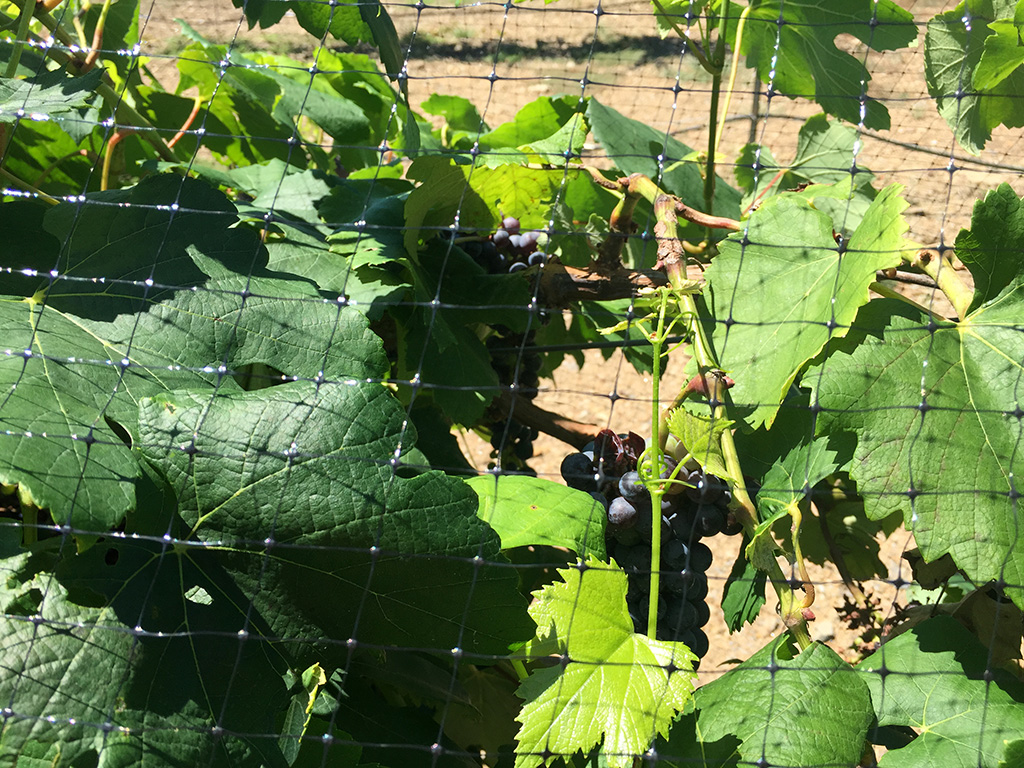
Black Spanish grapes getting close
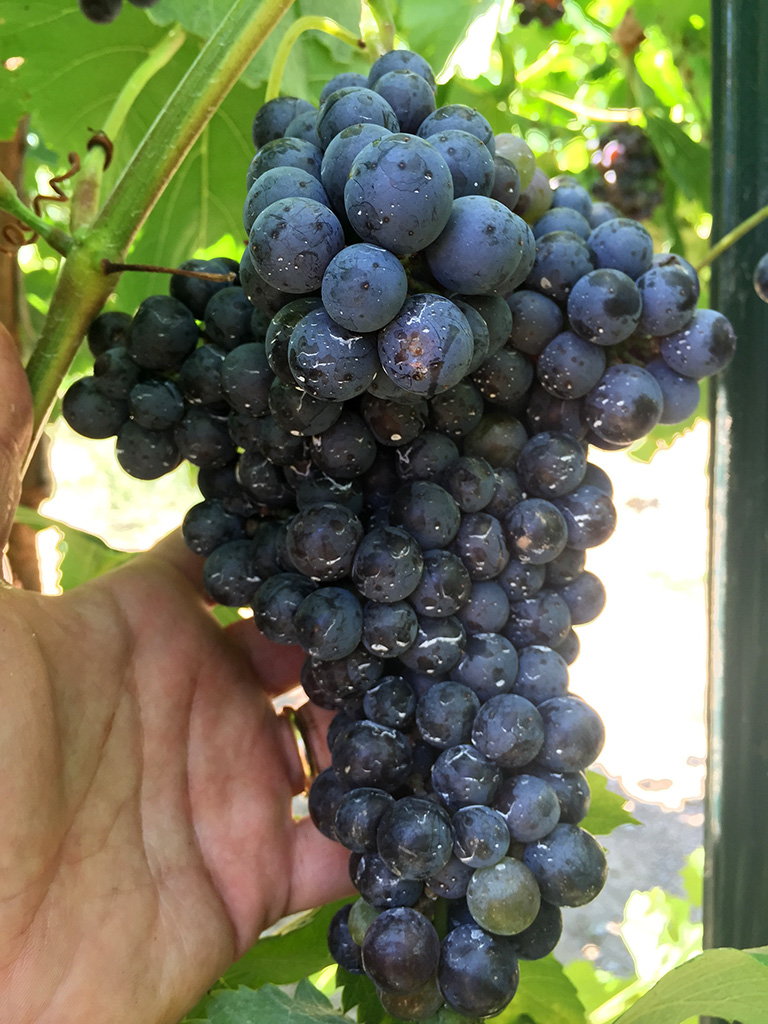
The brix is only 15, but color is looking good. I’m hoping the brix will get up to at least 20, but this is the first year of fruiting. These vines were three years old when I got them, with great root systems. Second year in the vineyard. I tried to limit the fruit this year to only 2-3 bunches per vine, but as you can see, more grew on some vines.
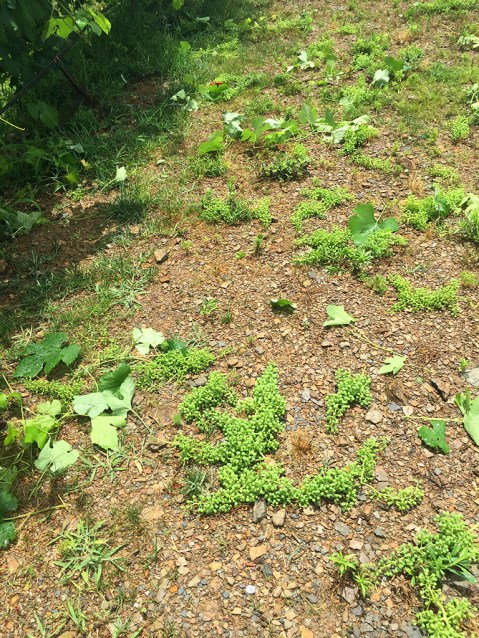
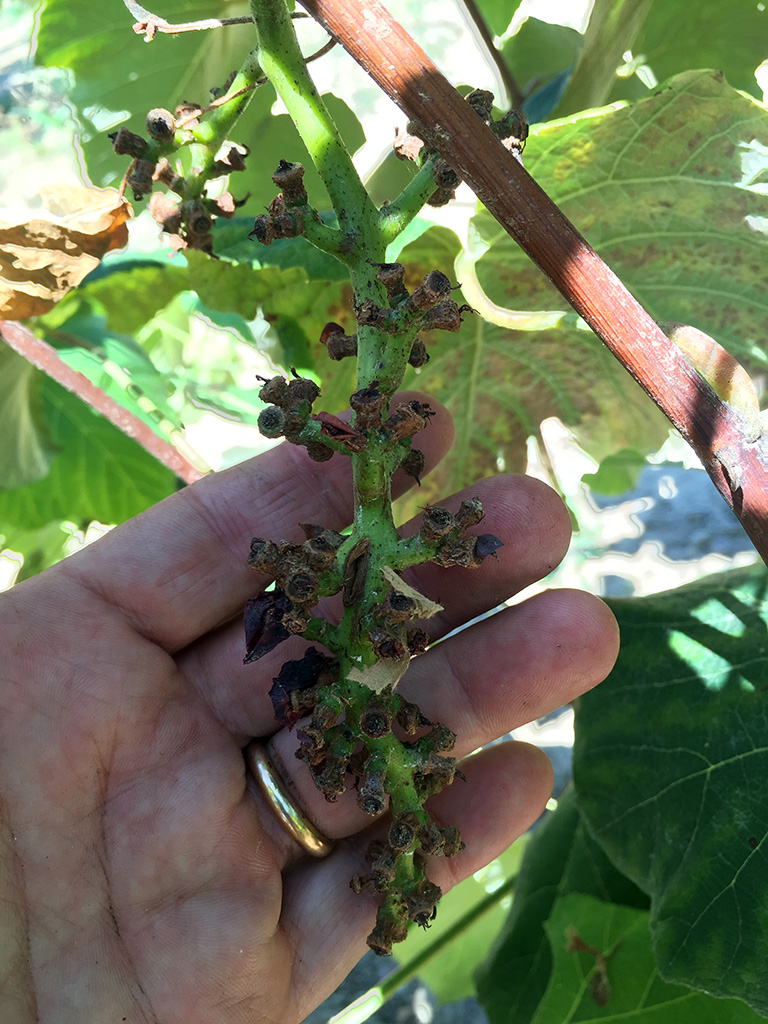
The Birds the Birds…
I was so looking forward to testing the sugar levels in the Lomanto grapes today, but the birds beat me to it. I only let a few bunches grow this year, but all were stripped clean. Here is what was left…

Spraying a Bordeaux Mixture on the vines
This is something I really should have done in late fall after the vines were in full dormancy, but it can be done early spring as well. So what is a Bordeaux mixture? Its an outstanding fungicide and bactericide that’s been used for decades to control some diseases in the garden, orchard and vineyard. Great for powdery mildew and black rot. I went with the traditional 10-10-100 ratio. The numbers refers 10 lbs. of copper sulfate, 10 lbs. of hydrated lime and 100 gallons of water. For my size of vineyard, I break that down to 1 lb of copper sulfate, 1 lb of hydrated line, and 10 gallons of water. Okay, that still a bit more than I need for one spraying and once you mix this all together it does not keep long. So I mix 1 lb of coper in an old washed out 1 gallon plastic milk jug and fill to the top with water (leave a little air space). Mix well and set to the side. Now do the same for the hydrated lime, 1 lb in a milk jug, fill almost to top with water, give it a good shake and set aside. Here’s the hard part, you really need to wait a couple of hours, or until the next day, to give the mixtures time to incorporate well with the water. Give it a good shake every time you see it for good measure. The water will separate over time, but no worries you will mix before use.
Final mixing, if you have a 2 1/2 gallon sprayer, put about a gallon of water in the sprayer, shake the milk jugs with the coper and lime good to incorporate well. Then pour 1 quart of the lime and 1 quart of the copper into the 2.5 gal sprayer. Put top on and mix well. Now take off the top and fill to the 2.5 gal mark put the top back on and shake it up baby. If you only have a 2 gal sprayer, pour about a gal of water in the sprayer, then measure out 25 oz of copper and 25 oz of lime after you gave them a good shake into the sprayer. Now fill the rest of the way to the 2 gal mark, put top on and shake shake shake.
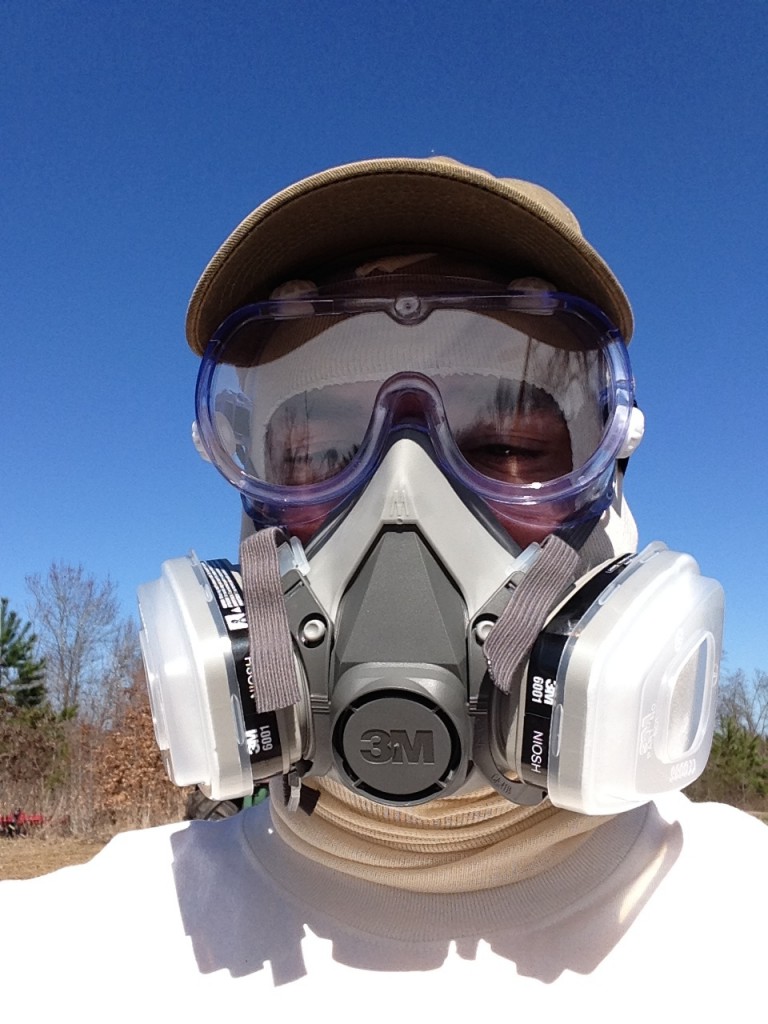
Warning: You really need to wear protective gear when mixing the hydrated lime. It comes in a powder form and is very dusty. You don’t want to breath it, or get it in your eyes. Although the copper and lime are both organic, together they are very toxic and corrosive. Make sure you label both solutions and store them away from children! Also the this blue mixture will stain anything it touches so be careful how you use and wear protective clothing like I did below.
Before and After


Recent Comments